
Watering
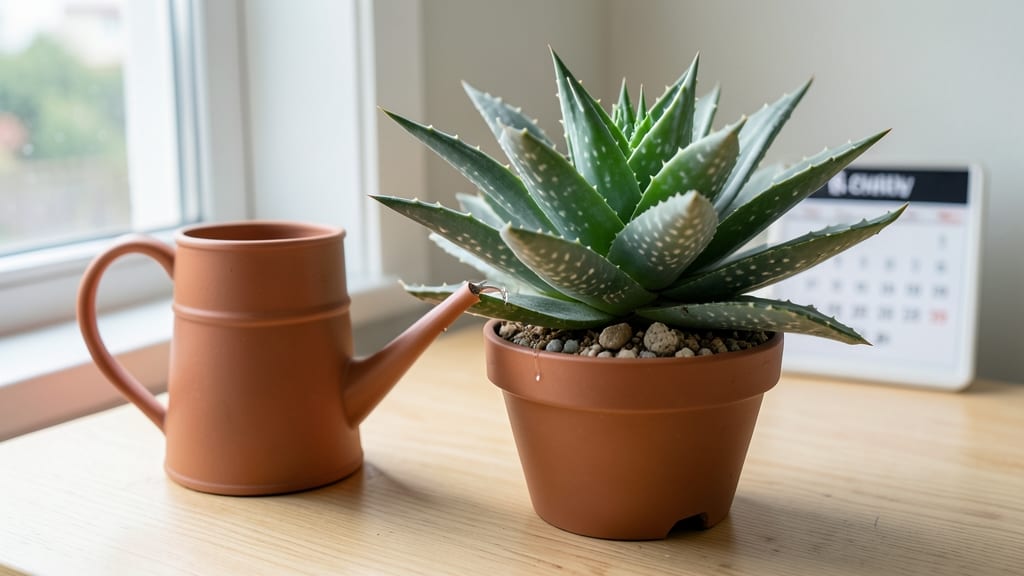
Watering aloe plants the right way means giving them just enough water—no more, no less—to thrive without inviting root rot or stunted growth.
Here’s the truth: overwatering kills more aloe plants than drought, yet most gardeners still guess when to water, leading to mushy stems or wrinkled leaves. With the right schedule, you can keep your 🌱 aloe happy with minimal effort.
In this guide, I’ll break down the exact watering frequency by season—whether you’re in Zone 6a or a warmer climate—plus how to tell if your plant is thirsty or drowning. No more second-guessing!
You’ll also discover the best watering methods (soak-and-dry vs. top-dressing) and how to adjust for pot size, soil type, and even humidity. Let’s get your aloe flourishing!
The ideal watering frequency for aloe vera by season (with exact timing)
Aloe vera thrives on consistency, but its water needs shift dramatically with the seasons. Unlike most houseplants, aloe stores water in its leaves, making it drought-tolerant—yet even this succulent can't survive soggy soil.
The key is matching your watering schedule to its natural growth cycles and your local climate. In my USDA Zone 6a garden, I’ve learned that summer and winter are the most critical times to adjust frequency, while spring and fall offer a balanced middle ground.
Your aloe’s pot size and soil type also play huge roles. A 6-inch pot with cactus mix will dry out faster than a 12-inch container with added perlite. I always test soil moisture by sticking my finger 2 inches deep—if it’s dry, it’s time to water.
Overwatering in humid climates (like my Pacific Northwest home) can be just as deadly as underwatering in dry desert regions.
🌱
Spring is when your aloe wakes up from dormancy, so I start with every 2-3 weeks indoors and every 1-2 weeks outdoors. The goal is to encourage new growth without soggy roots. I’ve found that morning watering (before 10 AM) reduces evaporation and fungal risks.
For container plants, I always soak until water drains from the bottom—this mimics the deep, infrequent rains aloe experiences in its native habitat.
Summer demands the most attention. Outdoor aloes in full sun may need water weekly, but I’ve seen indoor aloes survive on monthly waterings if kept in bright light.
The trick is monitoring leaf plumpness: if they pucker, it’s time to hydrate. Pro tip: Move potted aloes to shadier spots during peak heat to slow water loss.
☀️
Fall signals a shift toward dormancy. I reduce watering to every 3-4 weeks and stop fertilizing entirely. This mimics aloe’s natural cycle in cooler months. In my Zone 6a climate, I also move outdoor aloes to sheltered spots before the first frost.
Aloe can handle light freezes, but soggy soil in cold weather is a recipe for rot.
Winter is the easiest season—your aloe barely needs water. I check soil moisture once a month and only water if the top inch feels bone-dry. Overwatering in winter is the #1 mistake I see in forums.
If your home has low humidity (like mine with forced-air heating), you might water slightly more, but never on a schedule—always check first.
One final tip: Terracotta pots dry out faster than plastic, while self-watering containers require more caution. I’ve lost aloes in both types when I ignored the plant’s signals. Always prioritize leaf condition over a calendar. A healthy aloe’s leaves should be thick, upright, and slightly glossy—not wrinkled or mushy.
💧
5 Signs your aloe plant is thirsty (or overwatered) and how to fix it
Aloe plants are famously drought-tolerant, but even they send clear signals when their water balance is off. Ignoring these cues can mean the difference between a thriving succulent and one struggling with root rot or stunted growth.
The key is learning to read your plant’s leaf texture and soil moisture like a pro.
Most gardeners overwater by default—myself included, until I learned to check soil dryness with my finger before watering. Aloe roots need oxygen-rich soil, not soggy conditions. Let’s decode the visual clues your plant uses to communicate its needs.
🌱 Numbered Highlights: Fixing Aloe Watering Mistakes
- 1. Wrinkled leaves: Thirsty aloe—water deeply until drainage flows freely. Fix: Soak once, then wait 2–3 weeks.
- 2. Soft, mushy base: Overwatered—root rot is setting in. Fix: Remove plant, trim black roots, repot in fresh cactus mix.
- 3. Brown, crispy tips: Tap water damage (fluoride/chlorine). Fix: Use filtered or distilled water only.
- 4. Yellowing leaves: Overcrowded pot—roots compete for moisture. Fix: Repot in terracotta with 1 inch extra space.
- 5. Slow growth: Underwatering or poor light. Fix: Move to bright indirect light and water every 3 weeks.
Your aloe’s leaf plumpness is the best indicator of hydration. When leaves feel firm but slightly squishy (like a ripe avocado), your plant is perfectly hydrated. If they’re shriveled or hollow-sounding, it’s time to water—but only after confirming the soil is bone-dry 2 inches down.
One of my biggest mistakes was using tap water straight from the faucet. Aloe plants are ultra-sensitive to fluoride and chlorine, which cause those unsightly brown tips. Always let tap water sit out 24 hours before using, or switch to rainwater or filtered water for the healthiest growth.
If you’ve noticed mushy stems or a foul smell from the soil, your aloe is already suffering from root rot. Don’t panic—act fast by removing the plant, trimming away blackened roots with sterilized scissors, and repotting in fresh, gritty soil.
Withhold water for 2 weeks to let wounds heal before resuming a soak-and-dry routine.
Pro tip: Terracotta pots wick away moisture faster than plastic, making them ideal for aloe. If your plant’s pot feels heavy when dry, it’s likely overwatered. Always choose containers with drainage holes and avoid saucers that trap excess water.