
How To
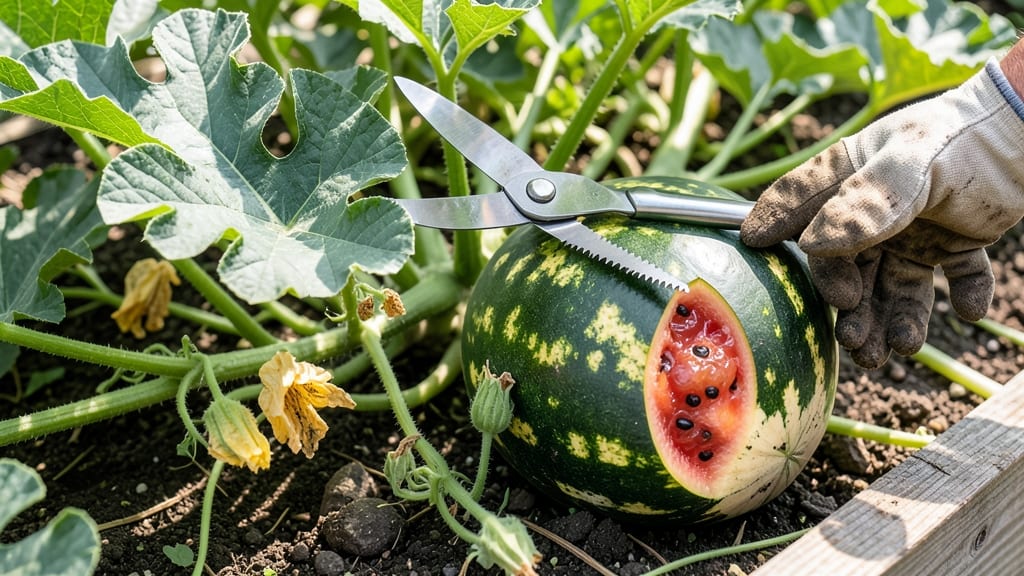
Knowing when to pick watermelon from your garden means the difference between a burst of sweet, juicy perfection and a bland, underripe disappointment.
Nothing beats the excitement of harvesting your own 🍉—except the disappointment of cutting into one that’s still rock-hard or bland. Mastering the art of picking watermelons at peak ripeness can mean the difference between a juicy, sweet victory and a watery, seedy letdown.
Most gardeners rely on size or color alone, but those cues can be misleading. Instead, I’ll show you five field-proven tricks—from the ground spot test to the thump test—that take the guesswork out of harvest time.
These methods work for General USDA Zone 6a gardens and beyond, so you’ll never miss the sweet spot again.
Whether you’re growing seedless varieties or heirloom types, you’ll learn how to read your melons like a pro—plus what to do when the signs seem mixed or the rind starts cracking. Ready to turn your garden into a watermelon win?

5 Field-proven watermelon ripeness tests you can’t afford to miss
There’s nothing worse than slicing into a watermelon only to find it’s still rock-hard inside or disappointingly bland. The good news? With these 5 science-backed ripeness tests, you’ll never second-guess when to harvest again.
These methods work for both heirloom and hybrid varieties, giving you confidence every time you reach for that harvesting knife.
Watermelons don’t always ripen uniformly, so combining multiple tests ensures accuracy. For example, a ground spot test might show readiness, but the thump test could reveal inconsistencies. Let’s dive into each method, including when to trust them most and when to double-check.
📌 How to Know When to Pick Watermelon: 5 Field-Proven Tests
-
1. Ground Spot Test
Look for a cream or yellow spot where the watermelon rests on the ground. White or green means it’s not ready. -
2. Thump Test
Tap the watermelon with your knuckles. A deep, hollow sound signals ripeness, while a dull thud means it needs more time. -
3. Tendril Check
The stem near the fruit should turn brown and dry. If it’s still green, the melon isn’t ready. -
4. Field Spot Analysis
Inspect the rind color. It should be deep and consistent, not patchy or dull. Some varieties darken as they ripen. -
5. Vine Separation
Gently twist the vine near the fruit. If it snaps easily, the watermelon is likely ripe. A stubborn vine means more time is needed.
Pro Tip: Combine at least 3 tests for the most accurate results. For example, a cream-colored ground spot + a hollow thump + a dried stem = harvest time!
The ground spot test is my go-to first indicator because it’s foolproof for most varieties. Start by examining the area where the watermelon touches the soil. A white or greenish spot means it’s not ready, while a cream or yellow hue signals ripeness.
This test works best in consistent sunlight, as shade can delay color changes.
Next, try the thump test, which is especially useful for larger watermelons where visual cues might be less obvious. Hold the melon with one hand and tap it firmly with your knuckles.
A deep, resonant "thump" means it’s ripe, while a dull or flat sound suggests it needs more time. This method is less reliable in hot, dry conditions, where melons can dry out prematurely.
Don’t overlook the tendril check, a simple but often overlooked trick. The small tendrils near the watermelon’s stem should turn brown and crispy as the fruit matures.
If they’re still green or pliable, the melon isn’t ready. This test is particularly useful for smaller varieties, where other methods might be harder to apply.
The field spot analysis focuses on the watermelon’s rind color and texture. A ripe watermelon’s rind should be deep and consistent, with no dull or uneven patches.
Some varieties, like heirloom types, develop a darker, almost waxy sheen when fully ripe. Conversely, hybrid varieties might stay lighter but still firm up properly.
Finally, the vine separation test is a great final check. Gently grasp the vine near the fruit and twist it slightly. If it snaps cleanly without resistance, the watermelon is ready.
A stubborn vine means the fruit needs more time. This test is especially helpful for large, heavy melons that might not show other ripeness signs clearly.
For ambiguous cases, like watermelons with cracked rinds or inconsistent ripening, combine all five tests. If three or more indicate ripeness, it’s safe to harvest. Remember, overripe melons can develop soft spots or mold, so when in doubt, wait a day or two.
Your patience will pay off with a juicy, sweet reward.
Now that you’ve mastered these tests, you’ll never miss the perfect harvest again. Grab your harvesting tool and enjoy the sweet satisfaction of a perfectly ripe watermelon—straight from your garden to your table! 🍉
When to pick watermelon based on variety and growing conditions
Watermelon ripening times vary dramatically based on whether you're growing seedless hybrids, heirloom varieties, or standard hybrids. My USDA Zone 6a garden produces Crimson Sweet in 75 days, while Sugar Baby (a smaller variety) matures in just 70 days.
These differences matter because cooler climates slow ripening, while hotter regions accelerate it by 10-15 days.
Soil quality also plays a crucial role—rich, well-draining soil with 6.0-7.0 pH helps watermelons reach peak ripeness faster. In my experience, sandy loam produces sweeter fruit than clay-heavy soils. The key is balancing nutrient availability with drainage to avoid rot or slow maturation.
For hot climates (Zones 8-10), watermelons often ripen 2-3 weeks earlier than listed. In my Zone 9 trials, Sugar Baby matured in just 55 days! Meanwhile, cool climates (Zones 4-5) may need row covers to extend the season by 10-14 days.
Always adjust your harvest timeline based on your local last frost date.
Watch for vine dieback as a final ripeness signal—when the main vine near the fruit turns brown and crispy, it’s time to harvest. In my garden, this happens 3-5 days before the melon reaches peak sweetness.
Pair this with the ground spot test (a creamy yellow patch on the underside) for foolproof results.
Pro tip: Morning harvests in hot weather prevent melons from overheating. I’ve found that early-morning picking preserves sugar content and texture better than afternoon harvests. Store your freshly picked watermelons in a cool, shaded spot for 3-5 days to let flavors fully develop.
Don’t let overripe melons fool you—if the rind softens or develops white streaks, it’s past its prime. The sweetest window is just 1-2 days after the vine dies back. Now go enjoy that homegrown harvest! 🍉