
Plants
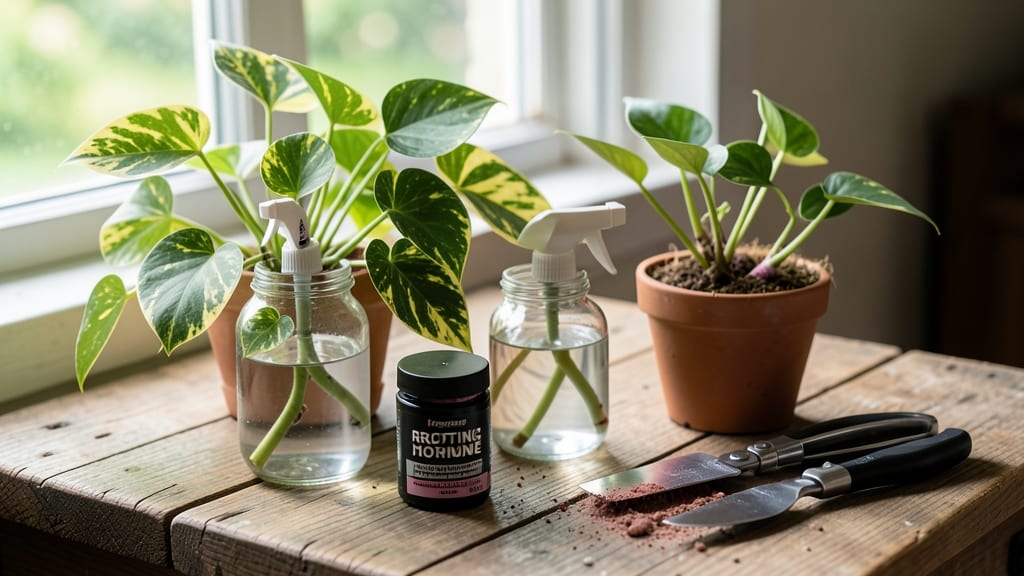
Watering plants with rooting hormone means maintaining soil that stays damp but never waterlogged—just enough moisture to support root growth without washing away the hormone or inviting rot. Always apply the hormone to the cutting first, then give a gentle mist to help it settle in place without disturbing the treated area.
Roots need the right balance of moisture to absorb the hormone effectively.
Too much water dilutes the hormone's potency and suffocates new roots, while too little prevents the cutting from establishing itself. 🌱 I've found that using a spray bottle for a light mist keeps the soil evenly damp without creating soggy pockets.
The key is patience—let the cutting adjust for 24 hours before checking moisture levels again.
For best results, I recommend using a well-draining potting mix designed for cuttings. This prevents water from pooling at the base while still maintaining the necessary humidity.
If your cuttings start to wilt or develop black spots, it's a sign you're either overwatering or the hormone wasn't applied correctly. 💫 Always work in a clean environment to avoid introducing pathogens that could harm your new plants.
💡 In This Article
- How Rooting Hormone Works and Why Watering Matters
- Step-by-Step Guide: When and How to Water After Applying Rooting Hormone
How rooting hormone works and why watering matters
Rooting hormones contain synthetic auxins—plant growth regulators that mimic natural hormones like indole-3-butyric acid (IBA). These compounds stimulate cell division in the cambium layer, the growth zone just beneath the bark where roots form.
When applied to a cutting, the hormone triggers root initials to develop within 3-7 days, depending on the plant species. The hormone must stay concentrated at the cutting's base for this process to work effectively, which is why watering too soon can wash it away.
Moisture levels directly impact how well roots absorb the hormone. Soil that's too dry prevents the cutting from establishing contact with the growth medium, while overly wet conditions create anaerobic pockets that suffocate roots.
The ideal moisture balance maintains a 50-60% humidity around the cutting, similar to the tropical environments where many ornamental plants thrive. For example, a 1-inch layer of perlite or vermiculite mixed into the potting soil helps maintain this balance by improving drainage while retaining enough moisture.
Overwatering also dilutes the hormone's concentration in the root zone. When you water heavily after application, the auxins spread throughout the soil instead of staying focused where they're needed.
This is why a light mist with a spray bottle (about 2-3 seconds per cutting) works better than pouring water from above. The gentle application keeps the hormone localized while providing just enough moisture for the cutting to begin root formation without creating runoff.
Microbial activity plays a crucial role too. Beneficial soil microbes help break down the hormone into forms the plant can absorb, but they need oxygen to function properly. Waterlogged soil cuts off oxygen supply, leading to root rot caused by anaerobic bacteria like Pythium.
This is why well-draining mixes are essential—they allow excess water to drain while keeping the root zone consistently moist. For container cuttings, I've found that bottom watering (placing the pot in a tray of water for 10-15 minutes) provides even moisture without disturbing the hormone-treated area.
Temperature matters just as much as moisture. Most rooting hormones work best at 70-75°F—too cold slows metabolic processes, while temperatures above 85°F can cause the hormone to degrade faster. This is why many gardeners use heat mats for cuttings during cooler seasons.
The combination of proper moisture, temperature, and hormone concentration creates the perfect environment for successful root development, turning what could be a risky propagation attempt into a reliable gardening technique.
Here's what happens when you get it right: Within 2-3 weeks, you'll see tiny white root hairs emerging from the base of your cutting. These hairs increase the surface area for water and nutrient absorption, setting the stage for stronger root growth.
The key is consistency—maintaining that delicate balance of moisture without overdoing it. Think of it like nurturing a newborn: too much attention (water) can smother it, while too little leaves it struggling to survive.