
How To
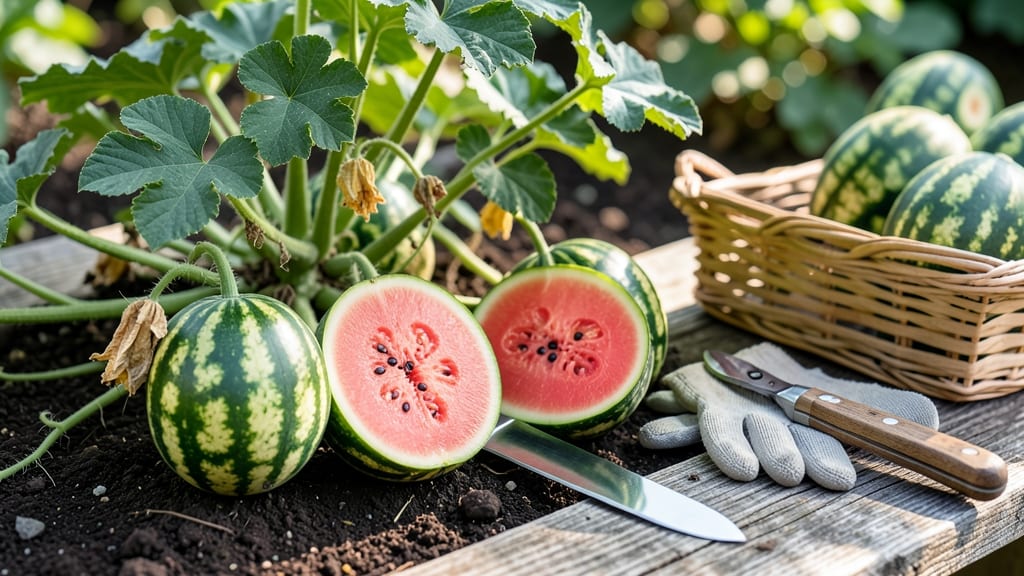
To pick mini watermelons at the perfect time, look for a fully colored rind, a browned tendril, and a hollow sound when tapped—these cues mark the sweetest harvest window.
If you’ve ever sliced into a watermelon only to find it still hard or mealy, you know timing is everything. Miss the window, and you’re left with fruit that’s either underripe and bland or overripe and mushy.
The difference between a perfect bite and a disappointing one often comes down to knowing exactly when to harvest.
Mini watermelons 🍉 typically ripen between 60 and 75 days after planting, but heat waves or cooler summers can shift that timeline. In Zone 6a, most gardeners start checking for ripeness in early July, but watch for visual and tactile clues rather than relying on the calendar.
Below, I’ll walk you through the three foolproof ways to test ripeness—so you can pull those melons at the peak of flavor, every time. No guesswork, just great-tasting fruit.

3 Visual cues to determine when mini watermelons are ready for harvest
Picking mini watermelons at the perfect moment transforms your harvest from bland to burstingly sweet. Unlike their larger cousins, these compact varieties often ripen faster, leaving little room for error. The key lies in three reliable visual cues that signal ideal harvest timing.
Ignore them, and you might end up with fruit that's either too hard and seedy or mushy and overripe.
I've learned through years of growing mini watermelons that ground spot color, tendril drying, and rind firmness form an unbeatable trio for determining ripeness. These indicators work together like a checklist—when all three align, you've got a winner.
Let's break down each one so you can confidently harvest melons at peak flavor and texture.
Ground Spot Turns Creamy Yellow
The ground spot (where the melon sat on the vine) should change from white to creamy yellow. This color shift indicates full sugar development.
Tendril Near Fruit Dries and Turns Brown
Check the small tendril closest to the melon. When it dries completely and turns brown, the fruit is ready within 1-2 days.
Rind Becomes Firm and Fully Colored
Press your thumb on the rind. It should feel firm but not hard, with no give. The color should be uniform (no green patches).
Let me share a pro tip from my own garden: variety matters. Some mini watermelons like 'Sugar Baby' develop deep yellow stripes, while others like 'Tiny Tim' stay green but get a creamy ground spot. Always check your seed packet for color-specific ripening cues—this prevents guesswork.
The ground spot is often the most overlooked cue, yet it's the most reliable. I once harvested a batch of mini watermelons where the tendrils were brown but the ground spots were still white.
The flavor? Bland and watery. Lesson learned: never skip checking the ground spot. This creamy yellow signal means the melon's sugars have fully developed.
For tendril drying, timing is everything. The tendril closest to the fruit should be crisp and green when the melon is young. As it matures, it gradually dries out.
By the time it's completely brown and brittle, the melon is typically ready within 24 hours. I mark my calendar when I first notice browning to avoid missing the window.
When testing rind firmness, use your thumb—not your fingernail. A firm rind means the melon has reached its ideal sugar content. If it feels soft or mushy, it's overripe. I've found that morning harvests often yield the best results because the rind is firmer after a cool night.
One common mistake I see is relying solely on size. Just because a mini watermelon looks big enough doesn't mean it's ripe. Always cross-reference all three cues before harvesting.
For example, a melon might be the expected size but still have a green ground spot—this means it needs more time on the vine.
Environmental factors can also affect these visual cues. In hot, dry climates, tendrils may dry faster, while cool, wet conditions can delay ground spot color changes. I adjust my expectations based on weather patterns, especially during unpredictable spring harvests when temperatures fluctuate.
To make harvesting easier, I recommend using a sharp pruning shear to cut the stem about 1-2 inches from the melon. This prevents damage to the vine and allows the melon to cure properly for a few days before eating.
Proper curing enhances flavor and texture, making your harvest even more rewarding.
Remember, the earlier you harvest after these cues appear, the better. Mini watermelons left too long on the vine can become overripe, developing a grainy texture and losing sweetness. By mastering these three visual cues, you'll consistently enjoy perfectly ripe, sweet mini watermelons straight from your garden.
How to test mini watermelon ripeness beyond visual clues
Sometimes, visual cues like rind color or tendril drying aren't enough to confirm your mini watermelon is perfectly ripe. When in doubt, these practical tests will help you determine if it's time to harvest. These methods work especially well in shady conditions or for varieties with muted coloring.
Start with the thump test, a classic method that reveals the internal ripeness of your watermelon. A hollow sound indicates the fruit is ready, while a dull thud means it needs more time. This test works best when the melon is at room temperature—not too hot or cold.
Next, check the stem inspection. A dry, brown stem near the fruit signals maturity, but if it's still green or moist, the melon isn't ready. For container-grown watermelons, this method is especially useful since visual cues can be harder to spot.
Finally, assess the weight and size. A ripe mini watermelon should feel heavy for its size, indicating full water content. Compare it to other fruits in your harvest—if it's noticeably lighter, it may not be ready yet.
Step-by-Step Ripeness Test for Mini Watermelons
- Thump Test: Tap the watermelon with your knuckles. A hollow sound means it's ripe, while a dull thud means it needs more time. Do this on the opposite side of the stem.
- Stem Check: Inspect the stem near the fruit. If it's dry and brown, the melon is ready. A green or moist stem means it's not yet ripe.
- Weight Assessment: Lift the watermelon—it should feel heavy for its size. If it feels light or hollow, it likely needs more time on the vine.
- Ground Spot Test: Look for a creamy-yellow spot on the side facing the ground. A fully ripe watermelon will have a distinct, well-defined spot.
- Field Heat Test: Check if the melon has lost its field heat (warmth). A ripe watermelon will feel cooler to the touch than an unripe one.
🌱 Pro Tip: Combine these tests for the most accurate ripeness confirmation.
If your mini watermelon passes these tests, it's time to harvest! Cut the fruit from the vine using a sharp knife or pruners, leaving a small stem attached. This helps preserve the melon's freshness and prevents rot.
For container gardeners, these methods are even more critical since space limitations can make visual cues harder to spot. Use these tests regularly to avoid missing the perfect harvest window.
Remember, the earlier you harvest, the sweeter and juicier your mini watermelons will be. Don't wait too long—overripe melons can become seedy and watery, losing their flavor and texture.