
How To
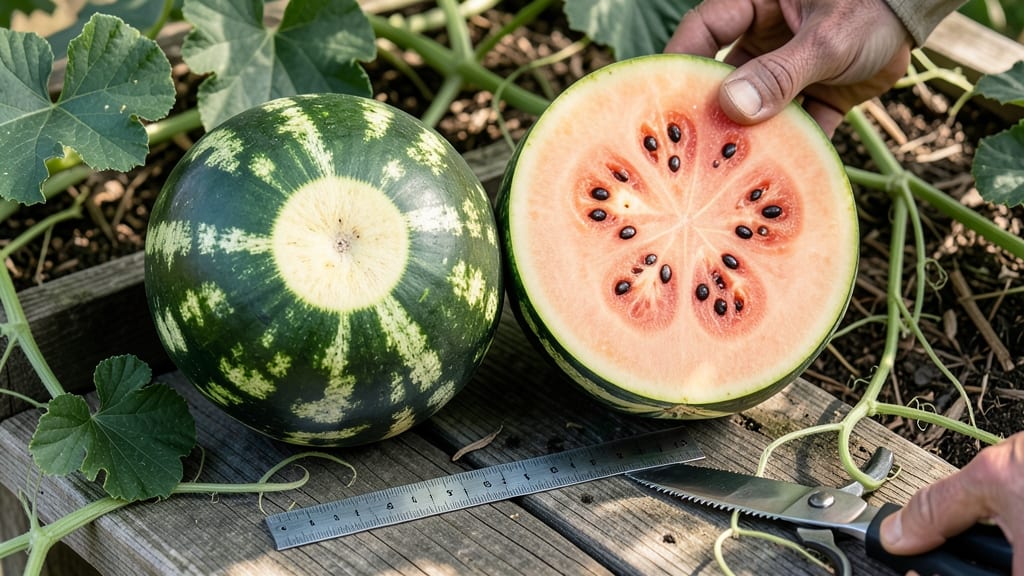
Telling when a watermelon is ready to pick is all about reading the signs—color, texture, and even the sound it makes when tapped.
Picture this: you’ve nurtured your 🍉 plants all summer, and now the moment of truth arrives. One wrong move, and you’re left with a mealy, underripe melon—or worse, one that’s overripe and mushy.
The good news? With just a few simple checks, you can guarantee a sweet, juicy harvest every time.
Start with the rind: a ripe watermelon’s skin turns from dull to shiny and hardens. Then, there’s the famous thump test, but did you know how to do it right? A hollow thud means it’s ready, while a dull thud signals it needs more time.
And don’t overlook the vine—when the tendril near the stem turns brown and crispy, that’s your final green light.
In this guide, I’ll walk you through every step, from visual cues to tactile tests, so you never second-guess your harvest again. Whether you’re growing in Zone 6a or just shopping at the market, these tricks will save you from the disappointment of a less-than-perfect melon.

Watermelon ripeness checklist: 5 visual & physical signs to pick at peak sweetness
Nothing beats the first bite of a perfectly ripe watermelon—unless you pick it too early, leaving you with watery, bland slices. The good news? With these 5 foolproof visual and physical signs, you’ll never miss peak sweetness again.
Whether you’re growing your own or shopping at the market, these cues will help you select the juiciest, sweetest watermelon every time.
Watermelons ripen on the vine, so timing is everything. A ripe watermelon should be hard, shiny, and heavy for its size, with a few telltale clues that scream "perfectly sweet!"
The key is combining multiple signs—no single trick guarantees ripeness. Let’s break down the visual and physical cues that separate a good watermelon from a great one.
🚨 NON-NEGOTIABLE: Use this summary-table as your quick-reference guide before harvesting or purchasing. Each sign builds on the next, so check them all!
The ground spot is your first clue—this is the area where the watermelon rested on the soil. When ripe, it turns from white or green to cream-colored or slightly orange.
This color shift happens because the fruit’s natural sugars concentrate as it ripens. Skipping this step is a common mistake, especially for beginners who rely solely on rind color.
A hard, glossy rind is another dead giveaway. Run your thumb over the surface—if it feels smooth and slightly waxy, the watermelon is ready. A soft or dull rind means it’s underripe.
Pro tip: Press firmly near the blossom end (the flat side where the stem was attached). If your thumb doesn’t leave a dent, it’s ripe.
The thump test is the most famous trick, but many people do it wrong. Tap the watermelon with your knuckles near the blossom end—not the opposite side. A ripe watermelon should sound deep and hollow, like knocking on a wooden door.
A dull thud means it’s not ready. Avoid this test on cloudy days, as cooler temperatures can trick the sound.
Watch for the tendril near the stem—this small vine will turn brown and crispy when the watermelon is ripe. Some gardeners wait until it’s completely dry, while others harvest a day or two before.
Either way, this is a reliable sign that the fruit is nearing peak sweetness. Don’t confuse it with the larger vines that support the plant!
Finally, a ripe watermelon should feel surprisingly heavy for its size. Lift it and compare to others—water-filled but underripe melons feel lighter. This weight comes from the high sugar and water content at peak ripeness.
If it feels light, it’s still developing. Pair this with the other signs for the best results.
Now you’re equipped to pick the perfect watermelon every time! Whether you’re harvesting from your garden or selecting at the market, these 5 signs will ensure you never settle for anything less than juicy, sweet perfection. Grab a knife, slice open that melon, and let the sweetness speak for itself!
How to use the thump test correctly (and 3 common mistakes that trick you)
The thump test is the most famous trick for checking watermelon ripeness—but it’s easy to get it wrong. A hollow sound doesn’t always mean ripe! The secret lies in where and how you tap. I’ll show you the proper technique, plus why some melons fool even experienced gardeners.
First, find the field spot—the cream-colored patch where the melon rested on the ground. This is your target zone. Tap it firmly with your knuckle (not your palm) for a crisp, hollow sound. A dull thud means it’s not ready yet.
⚠️ callout-warning ⚠️
A hollow sound can mean overripe or underripe—especially if the melon is small. Always check the ground spot color (cream) and tendril dryness first. For cloudy days, use the weight test: a ripe watermelon feels heavy for its size.
Mistake #1: Tapping the wrong spot. The stem end is denser and always sounds hollow, even if the melon isn’t ripe. Always test the field spot for accuracy. Mistake #2: Using your palm instead of a knuckle. A flat surface muffles the sound, making it hard to judge.
Mistake #3: Ignoring other ripeness signs. Combine the thump test with these checks: shiny rind, dry tendrils, and a cream-colored ground spot. If all signs align, you’ve got a winner! For extra confidence, try the vibration test—shake the melon gently; ripe ones rattle inside.
Pro tip: Test melons in the morning when they’re coolest. Warm melons can give false hollow sounds. If you’re still unsure, let it sit on the vine 1-2 more days—better late than early! The perfect watermelon is worth the wait.