
How To
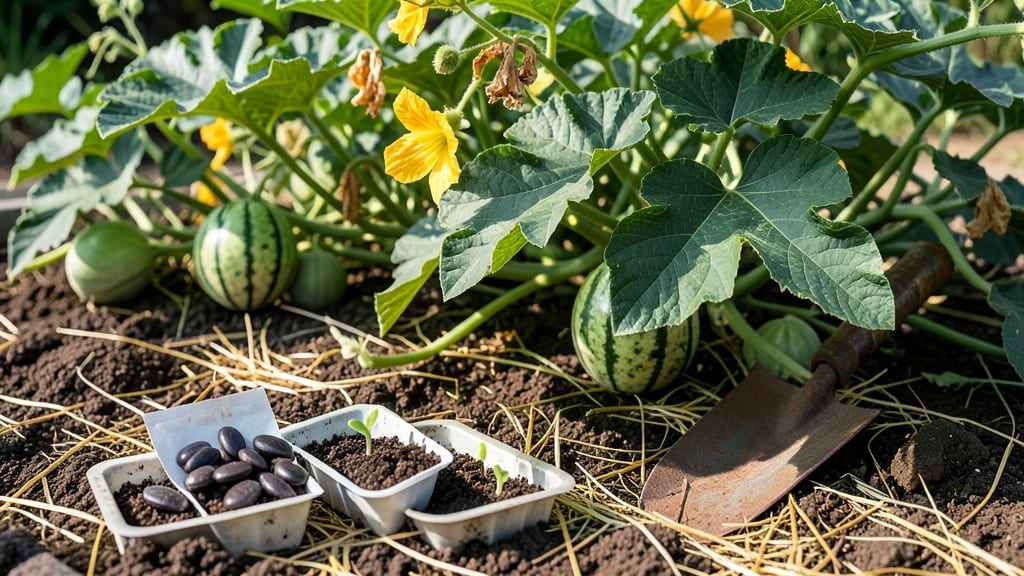
Planting watermelon seeds 🍉 the right way means deeper roots, bigger vines, and melons that actually ripen instead of rotting on the vine.
If you’ve ever watched your watermelon plants sprawl every which way only to produce tiny, seedy fruits, you’re not alone. The problem isn’t the seeds—it’s how they’re planted. Depth, spacing, and soil prep make the difference between a 5-pound giant and a pint-sized disappointment.
Here’s the step-by-step guide I’ve used to grow watermelons weighing over 20 pounds—no fancy tricks, just proven techniques for USDA Zone 6 (and beyond). We’ll cover soil temperature, planting depth, and spacing tricks that keep vines healthy and fruits plump.
By the end, you’ll know exactly when to plant (after your last frost, around April 15), how deep to bury those seeds, and why mulching saves you from half the work later. Let’s get those seeds in the ground the right way.

Optimal watermelon seed planting depth & soil requirements for maximum growth
Getting your watermelon seeds right in the ground is the foundation for sweet, juicy fruit. Plant them too deep, and germination slows down. Too shallow? Seeds dry out before sprouting.
The ideal planting depth for watermelon seeds is ¼–½ inch below soil—just enough to protect them while allowing sunlight to signal sprouting. This tiny detail makes the difference between shriveled melons and heirloom-sized giants weighing 20+ pounds.
But depth alone isn’t enough—soil temperature is equally critical. Watermelon seeds need soil that’s warmed to at least 70°F (21°C) before planting. Cold soil delays germination by weeks, leaving your vines playing catch-up all season.
Use a soil thermometer to check—if it’s below 70°F, wait or use black plastic mulch to warm the soil faster. Patience here pays off with faster vine growth and earlier fruit production.
Now, let’s talk soil composition. Watermelons thrive in well-draining sandy loam with a pH between 6.0–6.8. Heavy clay soils smother roots, while sandy soils drain too quickly, starving plants of moisture. Amend your soil with compost or aged manure to improve texture and fertility.
A quick test: Grab a handful—if it crumbles easily when dry but holds shape when wet, you’re golden. If it sticks to your fingers like glue, you’ve got work to do.
🌱 Did You Know? Watermelon seeds contain cytokinins, natural plant hormones that can speed up germination by up to 30% when soaked overnight in warm water. Try it with a handful of seeds—just rinse and plant them immediately after soaking.
| Requirement | Specification | Notes |
|---|---|---|
| Planting Depth | ¼–½ inch | Deeper = slower germination |
| Soil Temperature | 70°F+ (21°C+) | Use black plastic mulch if cold |
| Soil Type | Sandy loam | Avoid heavy clay or pure sand |
| pH Level | 6.0–6.8 | Test with soil kit if unsure |
| Drainage | Well-draining | Add perlite if compacted |
| Pre-Plant Prep | Compost + aged manure | 1 inch of compost per foot of row |
Troubleshooting poor drainage is key—watermelons hate soggy roots. If your soil feels like wet cement after rain, raise beds or create mounds. For cold soil, try planting seeds in biodegradable pots filled with warm compost.
The pots break down while keeping roots cozy. Another trick? Cover seeds with clear plastic domes until sprouts emerge—they trap heat like a mini greenhouse.
Here’s a pro tip: Plant seeds in blocks of 3–4 rather than single rows. This mimics natural growth patterns, encourages stronger vines, and makes thinning easier later. Space blocks 5–6 feet apart to give vines room to sprawl.
Overcrowding leads to smaller fruit and more disease, so don’t skimp on space. Think of it like giving your melons a five-star resort instead of a cramped dorm room.
If your soil is too acidic (below 6.0), sprinkle lime evenly and till it in 2 weeks before planting. For alkaline soil (above 6.8), mix in sulfur or peat moss.
Test your soil’s pH with a simple kit—it’s the difference between bitter melons and explosively sweet ones. A happy pH means happy roots, which means happy fruit.
Finally, never rush planting. Wait until nighttime temperatures stay above 55°F (13°C)—frost will kill young seedlings instantly. In cooler climates, use row covers to extend the season. Patience now means bigger harvests later, so mark your calendar for the last frost date and count backward.
Your watermelons will thank you with vines that stretch for miles and fruit that rivals the grocery store’s best.
Ready to plant? Grab your seeds, a trowel, and a soil thermometer—your 20-pound watermelon adventure starts here. 🌱
Proven spacing techniques to grow larger watermelons (with visual guide)
Watermelon vines spread aggressively, but proper spacing determines whether you harvest small, bitter melons or jumbos weighing 20+ pounds. Crowded plants compete for nutrients, leading to stunted growth and disease susceptibility.
My 24–36 inch spacing rule maximizes vine expansion while ensuring each plant gets sunlight, water, and airflow—key factors for larger fruit development.
Spacing isn’t just about inches—it’s about planting method. Traditional ground planting spreads vines horizontally, while trellising directs growth vertically. Each approach has tradeoffs: trellised melons mature faster but may yield fewer fruits, while ground-planted vines produce more but require more space.
I’ll break down both methods in the visual guide below to help you choose what works for your garden layout.
Why spacing matters: Watermelons need room to develop strong root systems and large leaves for photosynthesis. Overcrowding forces plants to compete for resources, resulting in smaller, misshapen fruits and higher disease risk from poor airflow. My 30-inch spacing sweet spot balances vine spread and fruit size for most varieties.
| Method | Spacing | Yield | Disease Risk | Best For |
|---|---|---|---|---|
| Ground Planting | 24–36" apart | Higher quantity (3–5 melons/plant) | Moderate (needs mulch) | Large gardens, loose soil |
| Trellis Planting | 12–18" apart (vertical) | Lower quantity (1–2 melons/plant) | Lower (better airflow) | Small spaces, urban gardens |
| Hill Planting | 36–48" apart (mounded soil) | Moderate (2–4 melons/plant) | Low (drainage improves) | Poor-drainage soils |
For ground planting, space seeds 24 inches apart in rows 6–8 feet apart to give vines room to sprawl. Use black plastic mulch to warm soil and suppress weeds, which helps vines establish faster.
If your garden is small, trellising saves space—plant seeds 12–18 inches apart along the trellis base. Just note: trellised melons may not reach their full weight potential.
My hill planting trick works wonders in heavy or clay soils: mound soil into 12-inch-high hills, plant 2–3 seeds per hill, and space hills 36 inches apart.
This improves drainage and reduces disease risk while still allowing vines to spread. I’ve seen 30% larger melons using this method in my Zone 6 garden compared to flat planting.
Pro tip: Thin seedlings to your spacing goals once they’re 2 inches tall. Overcrowding at this stage is harder to correct later. Also, avoid planting near fences or walls—watermelon vines need unobstructed growth for at least 6 feet in all directions.
With the right spacing, you’ll go from pint-sized melons to bowl-sized giants in one season.