
How To
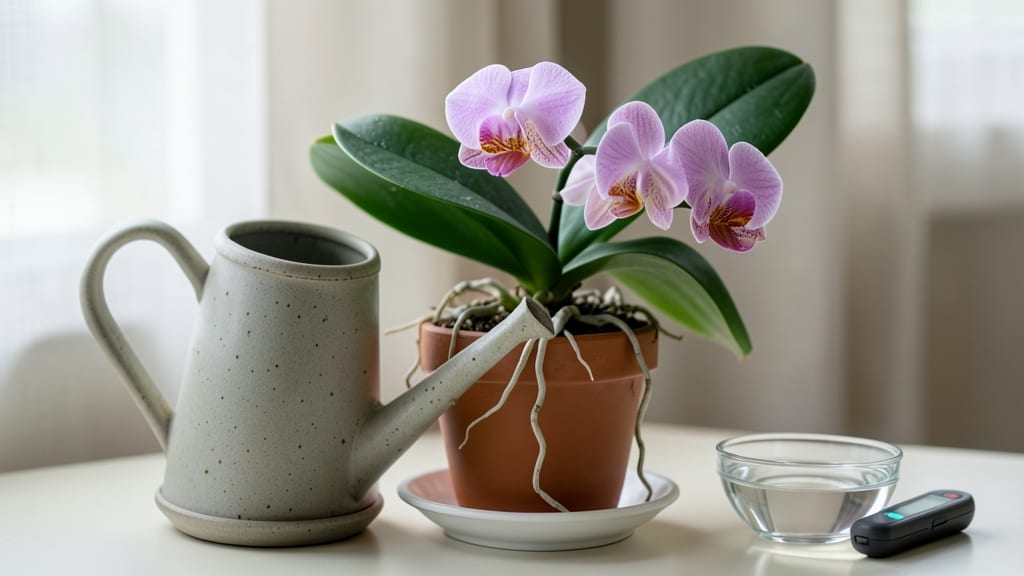
Watering orchids the right way keeps their roots happy and blooms vibrant—here’s how to do it without over- or underdoing it.
Orchids are delicate yet resilient—mastering their watering needs can mean the difference between wilted leaves and breathtaking blooms. The right technique ensures your orchids thrive without drowning their roots.
Most beginners struggle with frequency and method, but with the right approach, you’ll avoid common mistakes like soggy pots or dehydrated plants. Below, I’ll walk you through the 3-step misting method, seasonal adjustments, and how to spot trouble before it starts.
Whether you’re growing Phalaenopsis or Cattleya, these tips will help you maintain the perfect balance—so your orchids stay lush and healthy year-round.


The 3-Step misting method for orchid watering: perfect timing and technique
Orchids need consistent moisture without soggy roots—a tricky balance! The misting method mimics their tropical habitat while preventing root rot. Unlike other plants, orchids absorb water through their leaves and roots, so timing and technique matter more than volume.
I’ve perfected this approach after years of trial and error with my Phalaenopsis orchids, and it’s the secret to their long-lasting blooms.
Most gardeners fail because they water at the wrong time or use too much force. Misting should feel like a gentle rain, not a downpour. The key is to water in the morning when humidity is lowest, allowing excess moisture to evaporate before nightfall.
This prevents fungal growth and keeps roots healthy. Let’s break it down into simple, foolproof steps.
How to Water Orchids Using the Misting Method
- 1 Choose the Right Time: Water your orchid between 8 AM and 10 AM to allow excess moisture to evaporate. Avoid evening watering—this traps humidity and invites bacterial infections. If you must water in the evening, do so at least 4 hours before sunset.
- 2 Use Room-Temperature Water: Fill a spray bottle with dechlorinated water (let tap water sit for 24 hours or use filtered water). Cold water shocks the roots, while hard water leaves mineral deposits. Aim for 50-60°F—lukewarm is ideal. Lightly mist the leaves and air roots until the potting mix feels damp but not soaked.
- 3 Check Moisture Levels: After misting, insert your finger 1 inch into the potting mix. If it feels dry, repeat the misting until moisture reaches 2-3 inches deep. For Phalaenopsis orchids, the mix should feel like a wrung-out sponge. Avoid letting water pool in the saucer—empty it after 10 minutes to prevent root suffocation.
Seasonal adjustments are critical. In spring and summer, when orchids are actively growing, I mist mine every 5-7 days. But during fall and winter, when growth slows, I reduce it to every 10-14 days.
Watch for visual cues: wrinkled leaves signal underwatering, while yellowing or mushy roots mean you’re overdoing it.
One common mistake? Misting too heavily and causing waterlogged roots. Instead of drowning the plant, think of it as a light shower. Hold the spray bottle 6-8 inches away and use short, even bursts.
For larger orchids like Dendrobium, I’ll even tilt the pot slightly to ensure water reaches all air roots. This ensures even moisture distribution without compacting the potting mix.
Humidity plays a huge role. If your home is dry (below 40%), supplement misting with a pebble tray or humidifier near your orchids. I place my Phalaenopsis on a tray filled with sphagnum moss and water, which adds 30-40% humidity around the plant.
This mimics their natural epiphytic habitat and reduces the need for frequent misting.
Let’s talk about water quality, because this is where many orchids meet their demise. Tap water often contains chlorine and fluoride, which burn delicate orchid roots. Always use rainwater, distilled water, or reverse-osmosis water.
If you’re in a hard water area, collect rainwater in a clean barrel or use a water filter designed for plants. My Cattleya orchids thrive on collected rainwater, and their blooms last twice as long.
Finally, don’t forget to rotate your orchid every 2-3 waterings. This ensures even light exposure and prevents leggy growth toward the light source. I place my orchids on a turntable under my grow lights, giving them a quarter turn each time I water.
This keeps their foliage lush and encourages balanced blooming.
With this 3-step misting method, your orchids will reward you with vibrant blooms and healthy roots. The key is consistency—stick to the morning routine, monitor moisture levels, and adjust for your home’s humidity. Soon, you’ll have orchids that bloom year-round like a pro! 🌸
Orchid watering mistakes to avoid: what’s killing your plants (and how to fix it)
Orchids often suffer from well-intentioned but harmful watering habits that lead to yellow leaves, mushy roots, or even failed blooms. The most common mistake? Overwatering—a silent killer that suffocates roots by cutting off oxygen.
Even subtle errors like using tap water with chlorine or ignoring drainage holes can spell disaster for these tropical beauties.
I’ve revived countless orchids by fixing just one or two of these mistakes—often, it’s as simple as adjusting your watering schedule or upgrading your pot. Let’s diagnose the most frequent offenders and learn how to nurse your orchids back to health.
⚠️ How to Water Orchids Correctly
Timing: Water in the morning (never at night) to allow roots to dry slightly before evening. Frequency: Every 7-10 days in summer, bi-weekly in winter.
Method: Soak the pot until water drains freely from the bottom. Avoid: Letting orchids sit in standing water or misting leaves without wetting roots.
Water Type: Use room-temperature, filtered or rainwater to prevent chlorine/bacterial buildup. Test: If your tap water has a strong smell, let it sit out for 24 hours before using.
Your orchid’s roots are the first clue to watering problems. Healthy roots are silver-green when dry and bright green when hydrated. If you spot black, mushy roots, it’s a sign of root rot from overwatering.
Gently remove the plant from its pot, trim the affected areas with sterilized scissors, and repot in fresh, well-draining orchid mix.
Yellow leaves? This is often a calcium deficiency or overwatering. Check the leaves’ texture: If they’re soft and squishy, you’re overdoing it. If they’re crispy at the edges, your orchid is underwatered or lacks humidity.
Increase airflow around the plant and adjust your watering to every 10 days in cooler months.
Failed blooms? Stress from inconsistent watering is usually the culprit. Orchids need steady moisture—not droughts followed by soaking. Try a watering tray with pebbles to maintain even humidity.
Place the tray under your orchid’s pot so roots can absorb moisture as needed, but never let the pot sit in water.
Pro tip: Phalaenopsis orchids (the most common type) are forgiving, but Cattleya orchids need drier conditions between waterings. Always match your care to your orchid’s specific needs. A quick Google search for your variety will reveal its ideal watering schedule.
With these fixes, your orchids will bounce back in 4-6 weeks. Keep an eye on their recovery, and soon you’ll have lush foliage and vibrant blooms once again! 🌸