
Picking
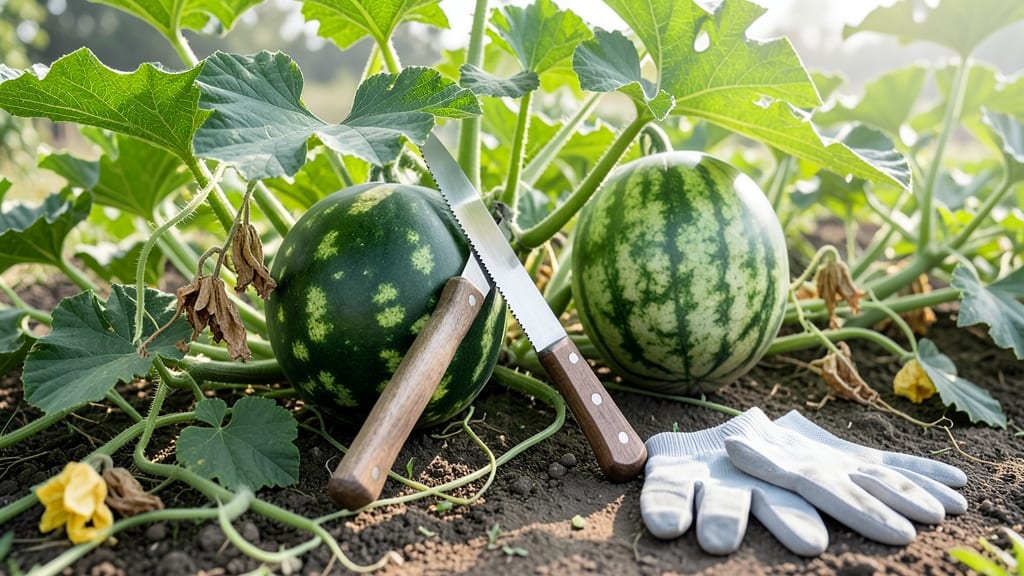
Knowing when a watermelon is ready to pick means the difference between sweet, juicy perfection and a mealy, underwhelming bite.
Picture this: you’ve nurtured your 🍉 vines all season, and now the melons are growing fast—but how do you know the exact moment to harvest? One wrong guess, and you’re either left with a vine full of overripe mush or a garden full of bitter, unripe fruit.
The good news? There’s a science to it, and I’ll walk you through every clue your watermelon gives you.
From the classic thump test to the often-overlooked tendril trick, I’ll break down the most reliable signs your watermelon is ready—plus how to adjust for your specific variety. No more guessing, no more wasted effort, just foolproof results every time.
By the end, you’ll know exactly when to grab your knife, how to check for readiness in under 30 seconds, and even what to do if your melons just won’t ripen. Let’s get started.

5 Unmistakable signs your watermelon is ready to pick
There's nothing quite like the thrill of harvesting your own homegrown watermelon, but timing is everything. Picking too soon means watery, underripe fruit with little sweetness, while waiting too long can lead to overripe melons that spoil quickly.
After years of growing watermelons in our backyard gardens and community plots, we've learned the most reliable signs to watch for—signs that guarantee a juicy, flavorful harvest every time.
Don't rely on guesswork or the melon's size alone. The best watermelon harvest cues combine visual clues, physical tests, and even subtle changes in the plant itself. Whether you're growing seedless varieties or classic heirlooms, these five indicators will give you the confidence to pick at peak ripeness.
Let's dive into the foolproof methods that have never failed us.
Field Spot Turns Creamy
Look for a yellow or cream-colored spot where the melon rests on the ground. This field spot is nature's way of signaling ripeness—it develops as the melon matures.
Tendrils Dry and Turn Brown
The small tendrils near the melon stem should dry up and turn brown. These leaf-like structures act as a natural timer—when they crisp, it's time to harvest.
Hollow Sound When Thumped
Tap the melon with your knuckles—it should sound deep and hollow. A dull thud means it's still firm and unripe. Pro tip: Thump near the field spot for the most accurate reading.
Rind Changes to Dull Tan
Check the blossom end (the side that touched the ground). The rind should turn from bright green to dull tan or yellow. Avoid picking if you see green stripes on the sides.
Stem Dries and Separates
The stem near the melon should dry out and pull away easily when gently twisted. If it resists, the melon needs more time. A dry stem means maximum sweetness has developed.
Let's start with the field spot, one of the most reliable indicators we've found. This cream-colored patch appears where the melon touches the soil, and its development is directly tied to sugar accumulation inside the fruit.
We've seen gardeners miss this clue by focusing only on the melon's exterior color, leading to underripe harvests. Always check this spot first—it's your first green light for harvest.
Next, pay attention to the tendrils near the melon's stem. These small, leaf-like structures act like a countdown timer. As the melon matures, the tendrils dry out and turn brown, almost like crisp autumn leaves.
We once left a watermelon on the vine past this stage, and it became overripe and mushy within days. Don't make that mistake—harvest when these tendrils are completely dry.
The thump test is the classic method most gardeners know, but we've found it's most accurate when combined with other signs. Tap the melon firmly with your knuckles—ripe watermelons produce a deep, hollow sound.
An unripe one will sound more dull or solid. For best results, thump near the field spot rather than the sides, where the rind might be thicker.
Don't overlook the rind color, especially at the blossom end. The area where the melon sat on the ground should develop a dull tan or yellow hue. Some varieties maintain green stripes on the sides, but the blossom end should never stay bright green.
We've tested this with multiple heirloom varieties, and this color change consistently predicts ripeness.
The final sign is often the most overlooked: the stem's condition. When the melon is ready, the stem near the fruit will dry out and separate easily when gently twisted.
This might feel counterintuitive—after all, you want the melon to stay attached! But a dry stem means the vine has stopped nourishing the fruit
Watermelon variety matters: adjusting harvest timelines by type
Not all watermelons ripen on the same schedule—seedless, heirloom, and hybrid varieties each have unique harvest windows. I’ve grown everything from sugar baby to Crimson Sweet, and the difference in ripening cues can be dramatic.
For example, seedless varieties like Sugar Baby mature in just 60-65 days, while heirloom types such as Moon and Stars take 85-90 days or longer. Understanding these timelines helps you avoid the frustration of waiting too long or picking too soon.
Harvest timing also depends on your climate zone. In hotter regions (like USDA Zone 9+), watermelons may ripen 10-15 days faster than in cooler areas.
I once grew Charleston Gray in Arizona and harvested it in 70 days, while my friend in Zone 7 waited 90 days for the same variety. Adjust your expectations based on your local growing season and variety traits.
Here’s the key: seedless watermelons often ripen earlier but require consistent warmth to develop sweetness. Hybrids like Crimson Sweet strike a balance with 75-80 days to maturity, while heirlooms prioritize flavor depth over speed.
If you’re growing multiple varieties, mark your planting dates and use a harvest tracker to monitor progress.
If you’re growing multiple varieties, prioritize seedless and dwarf types for earlier harvests. I always plant Sugar Baby first in May, followed by Crimson Sweet two weeks later, and save Moon and Stars for June.
This staggered approach ensures a continuous harvest through August. For heirlooms, patience pays off—wait until the rind is thick and the tendril near the stem dries completely before picking.
Pro tip: Label your plants at planting time with variety names and dates. I use color-coded plant markers to quickly identify ripening stages. For example, red markers for seedless types (ready in 60-75 days) and blue markers for heirlooms (85+ days). This visual cue saves time during harvest season.
Remember, harvesting too early leads to bitter, underripe fruit, while waiting too long can cause overripe, seedy, or cracked melons. Adjust your harvest schedule based on your variety’s traits and local climate—your taste buds (and your garden’s productivity) will thank you! 🍉