
How To
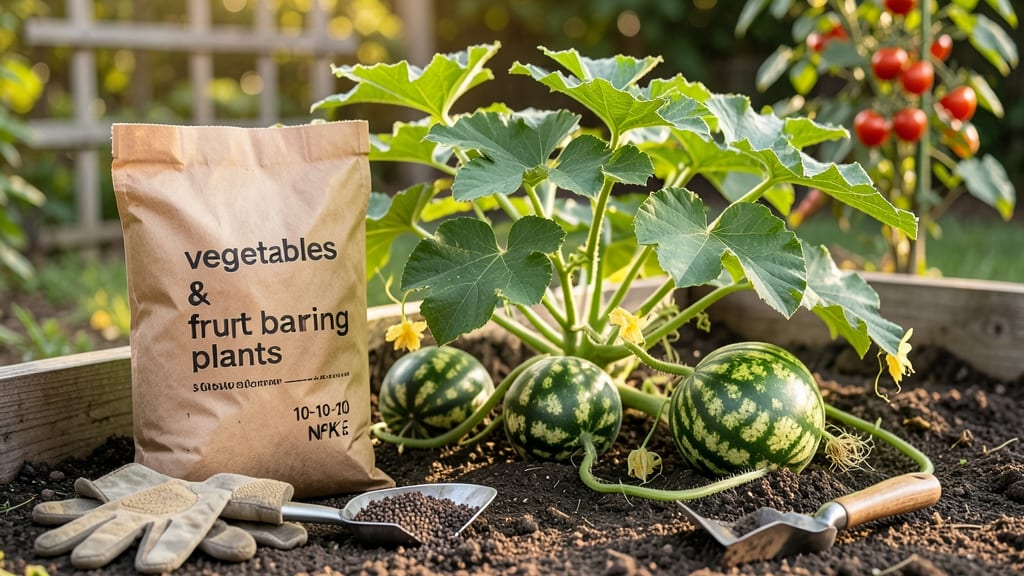
To fertilize watermelon at the right times means the difference between a handful of small fruits and a vine heavy with sweet, juicy 🍉—and it all starts with knowing the three critical growth stages.
Picture this: you’ve spent weeks tending to your watermelon plants, only to watch them produce tiny, bland fruit—or worse, nothing at all. The culprit? Fertilizing too early, too late, or with the wrong nutrients. Timing is everything, and missing these key windows can leave your harvest lacking.
Watermelons need a balanced approach, from a light feed before planting to targeted boosts during flowering and fruiting. Whether you’re in a warm climate like Zone 6a or a cooler region, the right schedule keeps your plants thriving without overloading them.
Below, I’ll break down the exact moments to fertilize—plus how to choose between organic and synthetic options for maximum yield.
You’ll learn how to read your plants for hunger cues, avoid common mistakes that stifle growth, and adjust your feeding plan based on weather and soil health. By the end, you’ll have a foolproof system to turn your watermelon patch into a summer bounty.
3 Critical watermelon growth stages for fertilizing (with exact timing)
Watermelons thrive when you feed them at the right moments—too early or too late, and you’ll end up with weak vines or poor fruit development. The key is understanding the three critical growth stages where fertilization makes the biggest difference: pre-planting soil prep, vine establishment, and flowering/fruiting.
Each stage demands a different approach to nutrients, whether you're using organic compost or synthetic NPK blends.
I’ve grown watermelons in USDA Zone 6a for years, and the difference between a 50-pound harvest and a barely-there yield often comes down to these exact timing cues. Let’s break it down so you can apply the right fertilizer at the right moment for maximum sweetness and size.
⚠️ Pro Tip: Always test your soil first! Watermelons prefer a pH between 6.0 and 6.8. If your soil is off, adjust with lime (to raise pH) or sulfur (to lower it) before planting. This saves you from wasting fertilizer on nutrients your plants can’t absorb.
Let’s start with the pre-planting stage, where the foundation for your watermelon’s growth is set. This is all about soil enrichment—not direct feeding of the plant itself.
I recommend mixing in 2-3 inches of compost or a balanced 10-10-10 fertilizer into the top 6 inches of soil about 2-3 weeks before planting. This gives soil microbes time to break down organic matter and makes nutrients available when seeds germinate.
For organic gardeners, aged manure (like cow or horse) is ideal—it adds nitrogen for early growth while improving soil structure. Synthetic fertilizers work too, but spread them evenly and water lightly afterward to prevent nutrient burn.
Avoid high-nitrogen blends here; watermelons don’t need lush foliage at this stage—they need strong roots.
Once your watermelon seedlings emerge and vines begin to sprawl rapidly (usually 4-6 weeks after germination), it’s time for the second fertilization. This is where you shift focus to vine strength and leaf production.
Use a fertilizer with a higher phosphorus content, like a 5-10-10 or 6-12-12 blend, to encourage robust root and vine development.
I’ve had the best success with fish emulsion during this phase—it’s packed with nitrogen and micronutrients that watermelons crave. Apply it as a side-dressing (sprinkle along the vine bases) and water it in well.
This stage is critical because weak vines mean fewer flowers, which directly translates to fewer fruits. Aim for vines that are thick as your thumb by this point.
The third and final stage is flowering and fruiting, which begins when you see those iconic yellow blossoms. This is where potassium-rich fertilizers take center stage.
Potassium helps watermelons develop sweet, disease-resistant fruit and improves their ability to handle heat stress. Look for a low-nitrogen, high-potassium blend like 0-10-10 or 2-8-8.
Organic options like banana peel tea (yes, really!) or bone meal work wonders here. Banana peels are surprisingly high in potassium, and bone meal adds phosphorus for strong fruit development.
Apply these every 2-3 weeks during the fruiting season, but stop fertilizing 4-6 weeks before your first frost—you don’t want new growth that won’t mature before winter.
One common mistake I see is over-fertilizing during fruiting, which leads to blossom-end rot (a mushy, dark spot on the fruit). To avoid this, always water deeply after fertilizing and monitor your plants for signs of excess salt buildup (yellow leaf
Signs your watermelon needs fertilizer (and what to use)
Watermelons are heavy feeders, and when they show signs of nutrient stress, your harvest suffers. Yellowing leaves, stunted vines, or small, misshapen fruit all scream for attention.
Don't wait until it's too late—catch these warnings early to save your crop. I'll show you how to diagnose common deficiencies and pick the right fertilizer for each stage.
Start by checking the leaf color and growth pattern. Healthy watermelon leaves are deep green and glossy. If you see yellowing between veins, it’s often a nitrogen deficiency. Pale yellow leaves with weak stems?
That’s a phosphorus shortage signaling poor root or flower development. Purple-tinged leaves mean your plants are starving for potassium, which is critical for fruit sweetness.
🔍 Poor fruit set is another red flag. If your watermelon plants produce lots of flowers but few (or no) fruits, they likely need more phosphorus and potassium.
This imbalance often happens when gardeners over-focus on nitrogen for leafy growth but neglect the nutrients that help flowers turn into melons. Thin, weak vines also point to nutrient deficiencies—especially if they struggle to support the weight of developing fruit.
⚠️ WARNING: Over-Fertilizing Can Be Just as Harmful as Under-Fertilizing ⚠️ When to fertilize watermelon: Always test your soil first (ideal pH: 6.0-6.8).
Apply a balanced fertilizer (10-10-10) at planting, then again when vines start running. Stop fertilizing 4-6 weeks before harvest to avoid bitter-tasting fruit. Organic options like compost tea or fish emulsion are safer for late-season use. Never fertilize if leaves show burn (brown edges)—this means excess salt damage. ⚠️ Signs of over-fertilizing: Crispy leaf edges, stunted growth, or white crust on soil surface.
For organic solutions, I swear by compost tea (brew 1 part compost in 5 parts water for 24 hours) or fish emulsion (dilute 1 tbsp per gallon of water). These gentle options boost nutrients without shocking your plants.
If you prefer synthetic fertilizers, choose a low-salt formula like 10-10-10 or 5-10-10 to avoid burning delicate roots. Always water deeply after applying fertilizer to help nutrients reach the roots.
Don’t ignore root health—healthy roots equal strong vines and sweet fruit. If your watermelon plants wilt even with consistent watering, their roots may be struggling due to compacted soil or poor drainage. Mix in organic matter like compost or well-rotted manure to improve soil structure.
A mulch layer (2-3 inches of straw or grass clippings) helps retain moisture and regulates soil temperature, reducing stress on your plants.
Remember, watermelons need consistent feeding but hate sudden changes. Start with a light application at planting, then follow up every 3-4 weeks during the growing season. Watch your plants closely—they’ll tell you exactly what they need.
With the right nutrients at the right time, you’ll go from struggling vines to a bountiful harvest of juicy, sweet watermelons! 🍉