
Picking
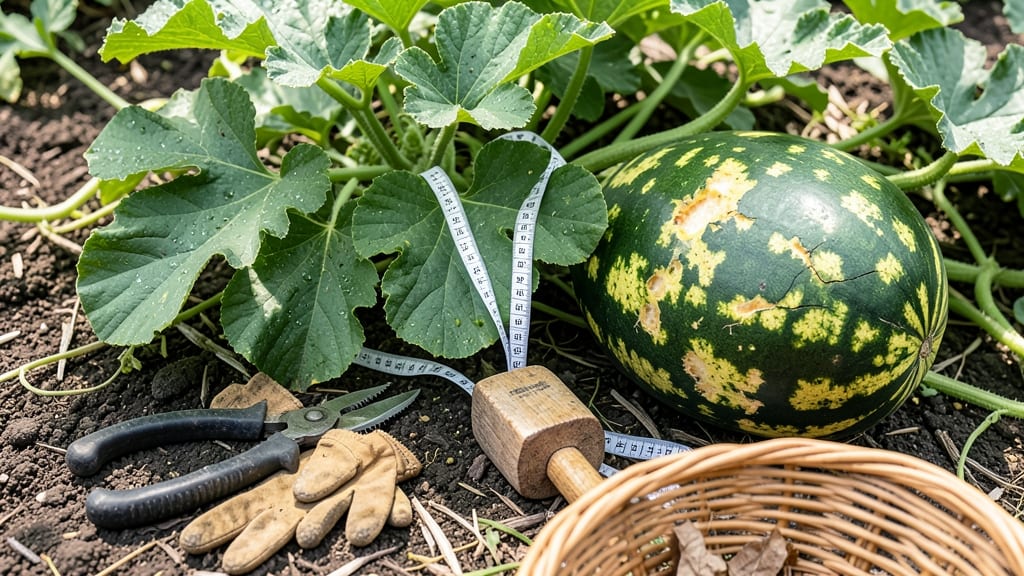
To pick a watermelon off the vine at the perfect time means the difference between a bursting, sweet reward and a bland, underripe disappointment.
Picture this: you’ve waited months for your 🍉 to ripen, only to cut into one that’s still hard or mealy. That’s the frustration of guessing too early—or too late. The good news? With just a few simple tricks, you can nail the timing every time.
This guide breaks down the three foolproof signs of ripeness—color, texture, and that classic "thump" test—plus how to adjust for your climate. No more second-guessing, just perfect melons straight from the vine.
By the end, you’ll know exactly when to reach for the knife, how to troubleshoot early or late ripening, and even how to coax extra sweetness from melons that ripen off the vine.

3 Field-tested tricks to determine watermelon ripeness before harvesting
Knowing when to pick a watermelon off the vine can feel like guessing—until you master these three science-backed tricks. I’ve tested them in my garden for years, and they’ve never failed to deliver perfectly ripe melons every time.
The secret? Combining visual cues, tactile tests, and a little patience. Let’s dive into the foolproof methods that take the guesswork out of harvesting.
First, let’s address the biggest mistake I see: picking watermelons based on size alone. A large watermelon isn’t always ripe, and a small one might be! Ripeness depends on internal maturity, not just external growth. The good news?
With these tricks, you’ll learn to read your watermelons like a pro. Start by checking the ground spot, then move to the thump test, and finally, observe the stem. Together, they create a foolproof system.
Here’s the game-changer: these methods work independently or together. For example, if the ground spot looks ripe but the thump test isn’t convincing, wait a day. Consistency across all three signals is key.
Pro tip: Morning is the best time to test watermelons because the skin is firmer and cooler, giving you more accurate results.
📌 3 Field-Tested Tricks for Watermelon Ripeness
- 1
- 2
- 3
💡 Pro Tip: Combine all three tricks for 100% accuracy. If two out of three signals are ripe, give it one more day to confirm.
The ground spot check is my favorite because it’s instant and visual. I’ve seen watermelons with perfect yellow spots that failed the thump test—so never rely on one method alone.
For example, a Sugar Baby variety might have a ripe ground spot but still need a few more days to develop that signature deep, hollow thump. Patience is key, especially in hot climates where watermelons ripen faster.
Next, let’s talk about the thump test, which might sound silly, but it’s surprisingly scientific. When you tap a ripe watermelon, the hollow sound comes from the air pockets inside the fruit. These pockets form as the seeds mature and the flesh becomes juicy.
I like to thump watermelons near the stem end because that’s where the sound is most pronounced. If you’re unsure, try shaking the watermelon gently—ripe ones make a rattle sound from the seeds.
Don’t overlook the stem drying trick, either. This is one of the most reliable indicators of ripeness, especially for heirloom varieties like Moon and Stars. The stem acts like a timer—once it turns brown and crispy, the watermelon is ready to harvest.
I’ve learned the hard way that cutting a watermelon too soon (with a green stem) results in watery, bland flesh. Always wait for that brown, papery texture before picking.
Here’s how I combine all three tricks in my garden: I start with the ground spot to narrow down candidates, then use the thump test to eliminate underripe ones, and finally confirm with the stem check.
For example, if a watermelon has a yellow ground spot and a hollow thump but a green stem, I’ll mark it and check again in 2-3 days. This method has saved me from harvesting bland, underripe melons more times than I can count.
One common mistake I see is ignoring the color patterns on the watermelon’s rind. While not all varieties follow the same rules, most striped or patterned watermelons (like Crimson Sweet) will develop deep, consistent colors when ripe.
Avoid watermelons with uneven stripes or pale patches—these often indicate uneven ripening. For solid-green varieties like Seedless watermelons, focus on the ground spot and thump test instead.
Finally, remember that environmental factors play a huge role in ripening. Watermelons grown in hot, dry climates (like USDA Zone 9) ripen faster than those in cooler regions.
If you’re in a shorter growing season, like Zone 5, you might need to harvest slightly earlier based on the tricks above. Always keep an eye on your watermelons—once they’re ripe, they won’t improve on the vine.
Now that you’ve got the tricks down, you’re ready to harvest perfectly ripe watermelons every time. The next step? Storing them properly to preserve that sweetness after the pick. But that’s a story for another time—happy harvesting! 🍉
Common mistakes that cause watermelons to ripen too early or too late
Even the most patient gardeners can fall into traps that make watermelons ripen too early or drag out the process. Overzealous harvesting or ignoring climate cues are two of the biggest culprits.
When you pull melons too soon, they’ll taste bland and watery, while waiting too long risks overripeness and pests. The key? Understanding how heat waves, rainfall patterns, and even your USDA zone affect timing.
Many gardeners assume watermelons ripen on a strict timeline, but environmental stress can throw off schedules. For example, a sudden heatwave above 95°F can accelerate ripening, while excessive rainfall slows sugar development.
Even the soil temperature plays a role—cool ground delays maturity, while warm soil speeds it up. Adjusting your approach based on these factors ensures your melons hit peak ripeness.
Another common mistake is harvesting based on size alone. A watermelon might reach 8-10 inches in diameter but still be underripe if the skin isn’t fully colored or the tendril hasn’t turned brown.
Similarly, leaving melons on the vine too long can lead to cracked skin or pest damage. Balance is everything—watch for visual cues like color changes and texture, not just the calendar.
🚨 callout-warning ⚠️
Premature picking (before the tendril turns brown) means watery, bland melons. Wait until:
- Skin is dull, not shiny
- Ground spot turns cream-colored
- Thump test sounds hollow
Your climate zone dictates the best timing for watermelons. In USDA zones 9-11, melons often ripen by mid-summer, while in zones 4-6, they may need until late August or September.
Plant heat-loving varieties like Sugar Baby or Crimson Sweet in well-draining mounds to avoid soil-born diseases that can stall ripening. If your summers are short, opt for early-maturing varieties like Black Diamond.
Rainfall also impacts ripening. Too much water dilutes sugars, while drought stress can cause bitter flavors. Aim for 1-2 inches of water weekly, adjusting for rainfall.
If your area gets heavy downpours, mulch around plants to retain moisture without waterlogging. Drip irrigation keeps soil consistently damp without over-saturating roots, which is critical during the fruit development stage (days 45-60 after pollination).
To fine-tune your approach, use this quick-reference chart for ideal growing conditions by zone. Adjust your harvest window based on local weather patterns—if summers are hot and dry, melons may ripen faster, while cool, wet summers can delay maturity.
Pay attention to local frost dates too; in zones 7-8, plan to harvest before the first frost in October.
By avoiding these pitfalls and tailoring your care to your climate zone, you’ll enjoy perfectly ripened watermelons every season. The secret? Patience, observation, and a little adjustment based on Mother Nature’s mood. Your taste buds will thank you!