
How To
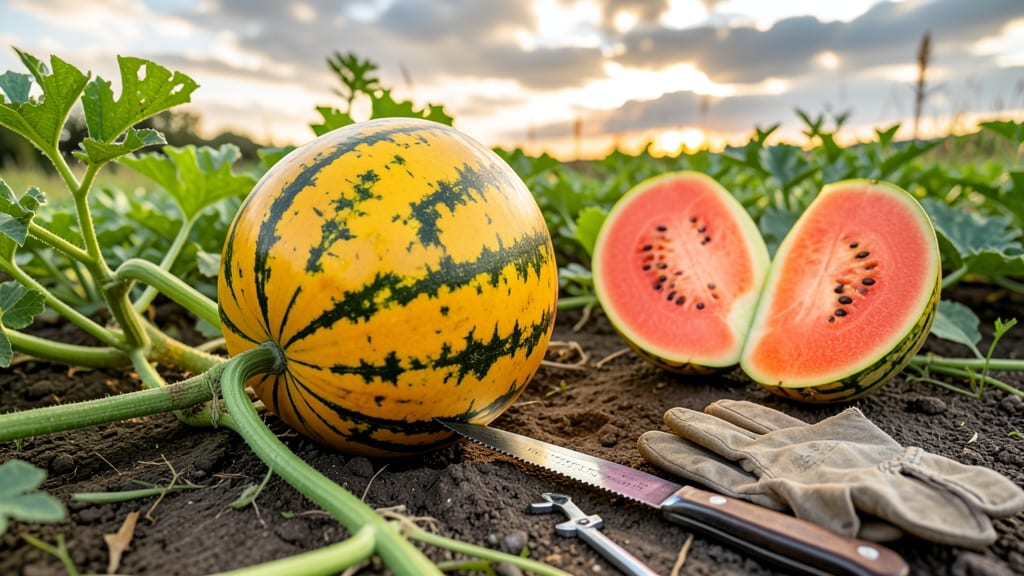
To pick your watermelon at the perfect moment means catching that sweet, juicy peak before it turns mealy or overripe — and the clues are all around you.
There’s nothing worse than biting into a watermelon that’s still hard or bland, yet picking too early can ruin your harvest. Mastering the art of timing ensures juicy, sweet perfection every time.
From the cream-colored field spot to the dry, brown tendril near the stem, watermelons 🍉 send clear signals when they’re ready. Ignore these cues, and you might end up with a rock-hard fruit or one that’s already past its prime.
In this guide, I’ll walk you through the 3 foolproof signs of ripeness, the best physical tests to use, and how to adjust for your local climate so you never miss the sweetest harvest again.

3 Visual signs your watermelon is ripe and ready to harvest
Nothing beats the satisfaction of slicing into a perfectly ripe watermelon—juicy, sweet, and bursting with flavor. But how do you know when your homegrown fruit is truly ready? While some gardeners rely on guesswork, science-backed visual cues can help you harvest at peak ripeness.
These three foolproof signs will transform your watermelon-picking confidence from uncertain to expert-level.
Watermelons don’t ripen further after harvest, so timing is everything. Ignoring these external indicators can lead to disappointment—either a hard, bland melon or one that’s overripe and mushy. The good news?
You don’t need fancy tools or lab tests. Just observe these three key visual clues to ensure your watermelon is at its sweetest, most flavorful stage.
🔍 3 Foolproof Visual Signs Your Watermelon Is Ripe
-
1. The Field Spot Turns Creamy
Look at the underside of the watermelon where it rested on the ground. A ripe melon’s field spot will turn from white to a cream or buttery yellow color. -
2. Tendrils Near the Stem Dry and Turn Brown
Check the small tendrils near the stem where the watermelon connects to the vine. When these dry out and turn brown, it’s a clear sign the melon is ready. -
3. Rind Texture Becomes Hard and Solid
A ripe watermelon’s rind should feel thick and hard when pressed with your thumb. If it’s soft or spongy, it’s not ready yet.
The field spot is one of the most reliable indicators because it changes color as the melon matures. When the spot shifts from white or pale green to a cream or yellowish hue, it signals that the sugars inside have fully developed.
This isn’t just a random color shift—it’s a chemical process where chlorophyll breaks down and carotenoids take over, indicating ripeness.
Don’t overlook the tendrils near the stem, either. These small, vine-like structures play a crucial role in nutrient transport. When they wither and turn brown, it’s your body’s way of telling you the melon has stopped growing and is ready to be picked.
This is especially useful for large varieties where visual cues like color can be harder to judge.
The rind texture is another game-changer. Many gardeners make the mistake of assuming a watermelon is ripe just because it’s big or looks colorful. But a hard, solid rind is non-negotiable for sweetness.
If you press your thumb into the rind and feel resistance, you’re on the right track. If it dents or feels soft, give it a few more days.
Pro tip: Combine these visual signs with a quick thump test for extra confidence. Hold the watermelon with both hands and tap the side gently. A ripe melon will sound hollow and deep, almost like a drum.
If it sounds dull or flat, it’s not ready yet. This test works because the seeds and juice inside create that signature echo.
Regional climate can affect ripening speed, so don’t rush the process. In hotter climates, watermelons may ripen faster, while cooler areas might need an extra week. Always prioritize these visual cues over size or color alone—because a big, green watermelon can still be tasteless if picked too early.
Once you’ve confirmed all three signs, it’s time to harvest! Use a sharp knife or pruners to cut the stem, leaving about an inch attached. This helps the melon cure properly and last longer. Store it in a cool, dry place (around 50-55°F) to preserve its sweetness for weeks.
Mastering these visual cues will turn your watermelon harvest from hit-or-miss to consistently delicious. Next time you’re debating whether to pick that melon, trust your eyes—and your tendrils! 🍉
How to test watermelon ripeness beyond the field spot
Sometimes visual cues like the field spot or rind color aren't enough to determine ripeness. When watermelons grow in shaded areas or under plastic mulch, their appearance can be misleading.
That’s why I rely on physical tests to confirm ripeness—especially when the melon looks close but isn’t quite there. These pro techniques work even when external signs are unreliable.
Start with the thumping test, a classic method gardeners use for decades. Hold the watermelon with both hands and tap the blossom end (the flat side) firmly with your knuckles. A ripe watermelon will produce a deep, hollow sound, almost like a drum.
If it sounds dull or muted, it’s not ready yet. This test works because the seeds and juice inside create a resonant chamber when fully developed.
Next, inspect the stem attachment. When watermelons are ripe, the tendril near the stem turns brown and dries out completely. Gently twist the stem—if it snaps easily without resistance, that’s a strong sign of ripeness.
However, if the stem is still green or tough to separate, the melon needs more time on the vine. This method is especially useful for heirloom varieties, which often have thicker stems.
Watermelon Ripeness Test: Pros & Cons
| Test Method | Pros | Cons |
|---|---|---|
| Thumping Test | Quick, no tools needed; works even with uneven coloring. | Subjective—requires practice; may not work for small melons. |
| Stem Inspection | Highly accurate; confirms internal ripeness. | Stems can dry prematurely in hot climates. |
| Weight Check | Simple; heavier melons often mean more juice. | Not foolproof—some overripe melons feel heavy. |
| Field Spot Test | Easy to spot; confirms sugar development. | Can be hidden or discolored in some varieties. |
Pro Tip: Combine two or more tests for the most accurate results. For example, a hollow thump + dry stem = ripe!
Don’t overlook the weight check. A ripe watermelon should feel heavy for its size—this indicates it’s packed with juice and seeds. Lift the melon in your hands; if it feels light and hollow, it’s likely underripe.
This method is particularly useful for large varieties like Crimson Sweet, where size alone isn’t a reliable indicator. Pair this with the thumping test for even better accuracy.
For organic growers or those using shade cloth, these physical tests become even more critical. Since sun exposure affects color and sugar content, relying solely on visuals can lead to disappointment.
I’ve learned the hard way—once, I picked a melon based on color, only to find it was still rock-hard inside. Now, I always combine three tests before harvesting.
If you’re still unsure, try the field spot test as a final check. Use your thumbnail to scrape the rind near the blossom end. A ripe watermelon will reveal a cream or yellowish spot.
If it’s still white or green, wait a few more days. This test is quick and doesn’t damage the melon, making it perfect for last-minute confirmation.
Remember, patience is key—watermelons won’t ripen further once picked. By mastering these physical tests, you’ll avoid the heartbreak of a bland or seedy harvest. Next time you’re in doubt, grab your melon and give these methods a try! 🍉