
How To
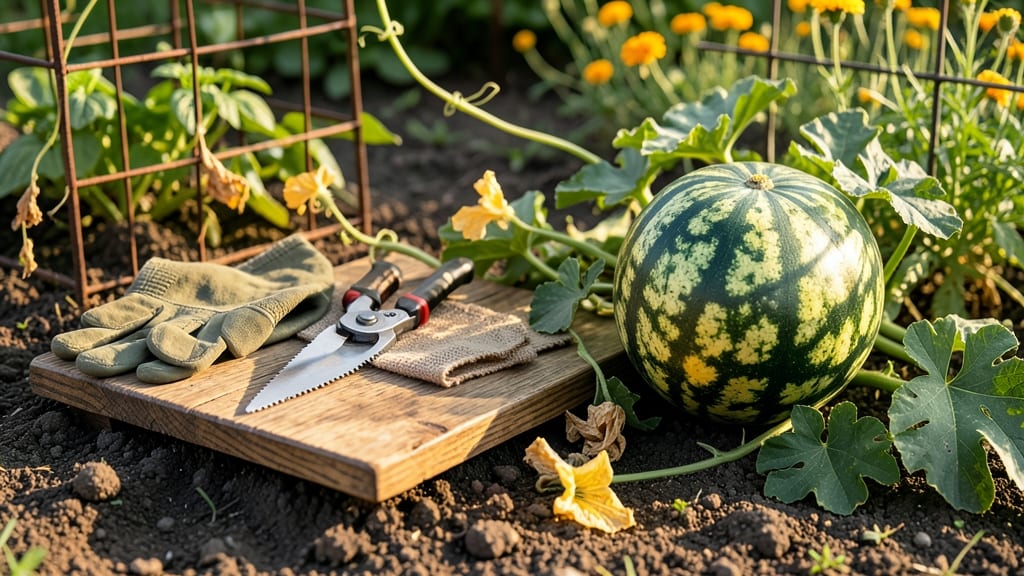
To know when to pick a watermelon, look for a creamy yellow spot where the fruit rests on the ground 🍉 — that’s the first clue your watermelon is ready.
Ever stood in front of a watermelon patch, unsure whether that plump fruit is ready for harvest—or still hiding its sweetest potential? Picking too early means watery flesh, while waiting too long risks overripe disappointment.
The good news? With just a few simple tricks—like the classic thump test or checking the vine’s curly tendril—you can tell when a watermelon is at its peak.
Most watermelons in USDA Zone 6 reach harvest time between July and September, but ripeness isn’t just about the calendar. Heat waves, soil moisture, and even the variety play a role.
That’s why learning the visual and tactile cues—like a hollow sound when tapped or a stem that snaps easily—is the game-changer for gardeners.
Below, I break down the 5 foolproof tricks to determine ripeness, from field spot checks to sound tests, so you never guess again. Ready to harvest the perfect slice?

5 Proven tricks to determine when a watermelon is ripe for harvest
Watermelons don’t come with expiration dates, so knowing when to harvest is all about reading the plant’s signals. The field spot—a creamy yellow patch where the melon rests on the ground—is your first clue.
This natural sunscreen tells you the melon has been baking in the sun long enough to develop sweetness. Pair this with a few more tricks, and you’ll never guess again.
Science backs these methods: chlorophyll breakdown in the rind (turning from green to yellow) and sugar accumulation in the flesh both peak at the same time. The thump test and tendril check are direct ways to confirm ripeness without cutting into the fruit.
Let’s break down the five foolproof ways to pick a watermelon at its sweetest.
Look for a creamy yellow patch where the watermelon touches the ground. This spot fades from green to yellow as sugars develop. A dull yellow means it’s ripe!
The curly vine tendril near the stem should turn brown and dry. If it’s still green, the melon needs more time. This tendril acts like a natural timer for ripeness.
Tap the watermelon with your knuckles. A deep, hollow sound means it’s ripe and juicy. A dull thud suggests it’s underripe. Pro tip: Thump near the field spot for accuracy.
Gently twist the stem near the fruit. If it snaps easily, the melon is ready. If it resists, it’s not quite there yet. This test works best in the morning when the stem is firm.
A ripe watermelon has a deep, uniform color with no green streaks. The rind should feel slightly waxy to the touch. Avoid melons with white or pale patches—they’re often underripe.
Don’t overlook the vine condition—healthy vines with yellowing leaves indicate the plant is redirecting energy to the fruit. If the vine looks stressed or wilting, the melon might be overripe. I’ve learned that heat waves can speed up ripening, so check melons more frequently during hot spells.
For seedless varieties, the thump test is even more critical since they often feel softer when ripe. Heirloom types, like Moon and Stars, may take longer to develop that creamy field spot, so combine multiple tricks for accuracy.
The key is patience—waiting a few extra days for the perfect melon is worth the reward.
Pro growers also recommend harvesting in the early morning when temperatures are cooler. This reduces stress on the plant and ensures the melon’s sugars are fully developed. Store your freshly picked watermelon in a cool, shaded spot for up to a week to preserve its sweetness.
If you’re still unsure, cut one open as a test—you’ll see the difference between a pale, watery center and a deep red, juicy interior. Once you master these tricks, you’ll never buy a store-bought watermelon again! The satisfaction of harvesting your own perfectly ripe fruit is unmatched.
Remember, every watermelon patch is unique. Factors like soil quality, watering consistency, and local climate can tweak ripening times. Adjust your checks based on what works best for your garden. Happy harvesting!
Common mistakes that make you pick watermelons too early (or too late)
Relying on a watermelon's size or weight alone is the #1 mistake gardeners make. A 10-pound watermelon might still taste bland if picked too soon, while a 15-pounder could be overripe and mushy. Store-bought "ripe" labels are equally unreliable—those are marketing tricks, not science!
Environmental factors like heat waves or drought stress can speed up ripening, making your usual checks misleading. For example, a melon might develop that "hollow thump" weeks earlier in 95°F+ weather than in cooler zones. Ignoring these variables leads to either underripe disappointment or overripe waste.
⚠️ CALLOUT-WARNING ⚠️
- Green stem ends = Not ripe (wait 3-5 more days)
- Hard-as-rock skin = Underripe (needs 1-2 weeks longer)
- Cracked rind = Overripe (eat immediately or compost)
Another trap? Assuming all watermelons ripen on the same schedule. Seedless varieties often mature 5-7 days faster than heirlooms, while hybrids may need extra heat to fully sweeten. Always adjust your harvest timeline based on the specific type you're growing—don't use a one-size-fits-all approach.
Even the thump test can fail if you're not consistent. Tap near the stem end (not the blossom end) for the most reliable hollow sound. A dull thud? Keep waiting. A deep, echoing "thwack" means it's prime—but only if paired with a creamy yellow field spot and a dry tendril.
Drought conditions throw off ripening cues too. When water is scarce, watermelons may develop that "ripe" color and thump sound weeks early, but the flesh stays hard and seedy.
In these cases, increase watering slightly (but don't overdo it) and extend your harvest window by 10-14 days to let sugars fully develop.
Pro tip: Keep a harvest journal for your specific growing conditions. Note the day you planted, average temperatures, and when your melons actually reached peak ripeness. Next season, you'll know exactly when to check—no more guesswork or wasted fruit!