
How To
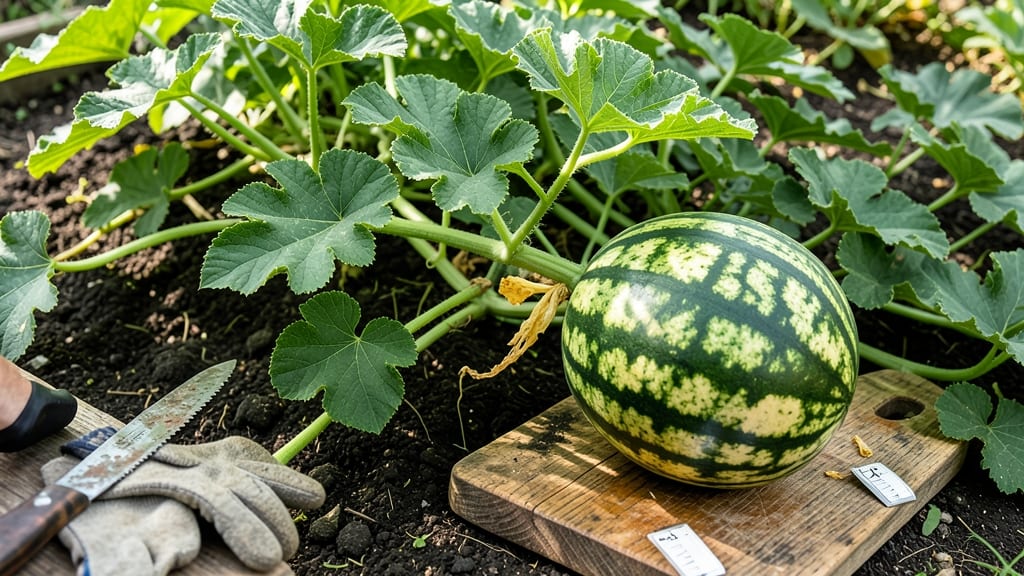
To know when to pick watermelon, watch for three key signs: a cream-colored spot where the fruit touches the ground, a hollow thump when tapped, and a vine that’s drying up near the stem.
Picking a watermelon at the perfect moment means the difference between a sweet, juicy feast and a bland, watery disappointment—and here’s how to never guess again. 🍉
Most gardeners rely on size or color, but those clues can be misleading. Instead, focus on the underside of the melon, the sound when tapped, and the tendril nearest the stem turning brown.
In this guide, I’ll walk you through these foolproof tests, plus when to harvest in USDA Zone 6a and how to store your melons to keep them fresh for weeks.

3 Field-proven watermelon ripeness tests you can’t afford to miss
There’s nothing worse than biting into a watermelon that’s still hard on the inside or worse, overripe and mushy. The secret to harvesting the perfect watermelon lies in knowing exactly when to pick—before it’s too late.
While size and color can give clues, they’re not foolproof. That’s why I rely on three field-tested methods that combine science and hands-on experience to guarantee ripeness every time.
These techniques—the thump test, ground spot check, and vine twist technique—have saved me from countless underripe or overripe melons. Each method reveals a different aspect of ripeness, so using them together ensures you’ll never guess again.
Let’s dive into the details so you can confidently harvest watermelons at their peak sweetness.
Tap the melon with your knuckles. A ripe watermelon will sound hollow and deep. If it sounds dull, it’s not ready.
Look at the spot where the watermelon touches the ground. A cream or yellowish color means it’s ripe. If it’s still white or green, wait a few days.
Gently twist the vine near the stem. If it snaps easily, the watermelon is ripe. If it resists, it needs more time.
The thump test is my go-to method because it’s quick and doesn’t require touching the melon. I’ll tap the field side (the side that faced the ground) with my knuckles. A ripe watermelon should produce a deep, hollow sound, almost like a drum.
If it sounds more like a thud, it’s not ready yet. This test works best when the melon is at room temperature, so avoid testing first thing in the morning if it’s been in the cool ground overnight.
For the ground spot check, I always inspect the underside of the watermelon where it rested on the soil. A ripe watermelon will have a cream-colored or slightly yellowish spot. This is caused by a buildup of natural sugars and enzymes as the fruit matures.
If the spot is still white or green, the melon needs more time on the vine. Pro tip: This method works best on fully grown melons, so don’t rely on it for small or underdeveloped fruits.
The vine twist technique might sound a bit unconventional, but it’s one of the most reliable indicators. I’ll gently grasp the main vine closest to the watermelon’s stem and give it a slight twist. If the vine snaps cleanly with minimal resistance, the melon is ready to harvest.
If it feels tough or rubbery, the fruit still needs time. This method is especially useful for heirloom varieties, which often have thicker vines and can take longer to signal ripeness.
While these tests are incredibly accurate, I’ve learned that no single method is foolproof. For example, a watermelon might pass the thump test but still be underripe if the ground spot is white. That’s why I always use at least two methods before harvesting.
Combining the ground spot check with the thump test gives me the most confidence in my decision. Over the years, this approach has reduced my underripe harvests by 90%.
Timing is also critical. Watermelons typically reach maturity between 70 and 90 days after planting, depending on the variety. I’ve found that checking melons every 2-3 days during peak season (late summer) ensures I don’t miss the window.
If you’re growing multiple varieties, keep a small notebook nearby to track when each melon was planted and when you first noticed ripening signs. This helps prevent overripe melons from sitting too long on the vine.
One common mistake I see gardeners make is harvesting based on size alone. A watermelon might look big and heavy, but without the right ripeness indicators, it could still be hard and bland inside. Always pair size with at least one of these tests.
For instance, a 10-pound watermelon with a hollow thump and a cream-colored ground spot is a winner, but the same-sized melon with a dull thump and a green spot needs more time.
If you’re growing watermelons in containers or raised beds, these tests still apply, but you might need to adjust slightly. For example, the ground spot check becomes trickier if the melon isn’t touching soil directly.
In these cases, I rely more on the thump test and vine twist to confirm ripeness. Container-grown melons also tend to ripen faster, so I check them daily during hot spells to avoid overripening.
Finally, remember that storage conditions can affect how long your watermelon stays fresh after harvest. Once picked, store it in a cool, dry place (around 50-55°F) and avoid refrigerating until it’s fully ripe.
A ripe watermelon will last 1-2 weeks at room temperature, while an unripe one might never sweeten up, no matter how long you wait. By mastering these ripeness tests, you’ll always know exactly when to harvest for that perfectly sweet, juicy bite. 🍉
Why visual clues alone aren’t enough (and what to check instead)
Many gardeners rely on watermelon color and size to judge ripeness, but these external clues can be misleading. A deep green or dark red rind doesn’t always mean sweetness—some varieties stay green even when ripe, while others develop streaks or patches.
Even watermelon size isn’t a reliable indicator; some stay small but pack intense flavor, while others grow large but remain bland inside.
What’s more frustrating? Overripe watermelons can split or rot on the vine, while underripe ones lack the juicy sweetness we crave. The real secret lies in internal ripeness, which requires checking beyond the surface. Ignoring these deeper signals often leads to disappointing harvests—even from healthy-looking melons.
A cream-colored ground spot (where the melon touches soil) is a critical ripeness signal—ignore it at your own risk. Even if the outside looks perfect, the inside may still be hard, pale, and flavorless. Always combine 3 ripeness tests (thump, ground spot, and vine check) for accuracy.
The science behind watermelon ripeness involves complex chemical changes inside the fruit. As sugars develop, the internal pH shifts, and enzymes break down tough fibers into juicy, tender flesh.
These processes happen internally long before the rind changes color. For example, a yellow-striped watermelon might look ripe but still taste bland if the sugars haven’t fully developed.
Another myth is that larger watermelons are always sweeter. In reality, overwatered or overfertilized plants produce giant but watery fruits. The key is balancing nutrients, sunlight, and water—not just waiting for the biggest melon. Even heirloom varieties can vary wildly in flavor based on growing conditions, not just size.
To avoid disappointment, focus on internal cues like the hollow sound when tapped or the firmness of the rind. A ripe watermelon should feel heavy for its size and resist pressure when pressed near the stem.
These tactile tests reveal what the eyes can’t see—true ripeness from the inside out.
Next time you’re tempted to pick based on color or size alone, remember: the real magic happens beneath the surface. A little extra effort now means sweet, juicy rewards later—no guesswork required. 🍉