
How To
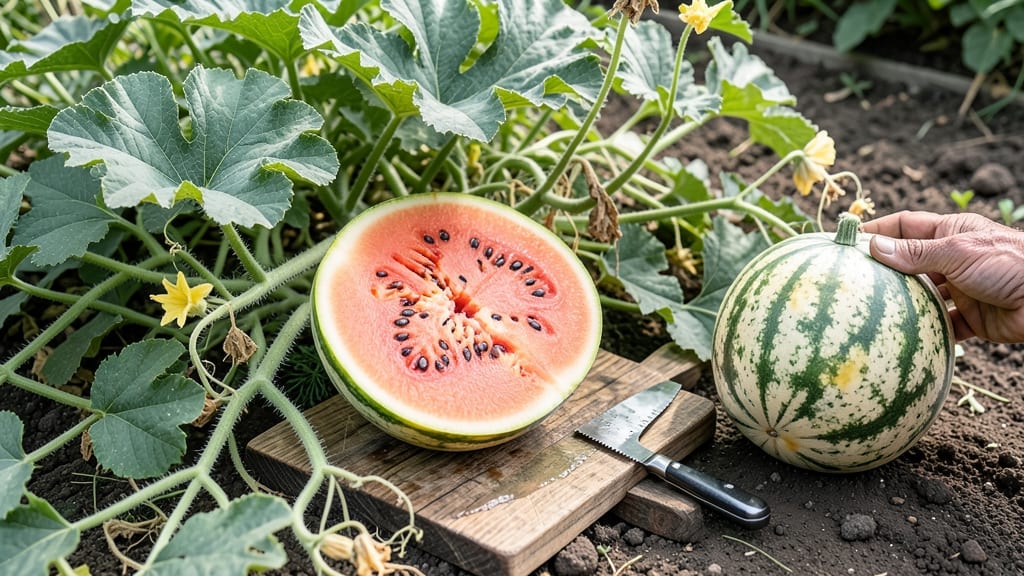
To tell when to pick a watermelon, focus on the field spot turning creamy yellow and the tendril nearest the stem drying up—these are the two most reliable signs of ripeness.
Nothing beats the satisfaction of biting into a perfectly ripe watermelon—juicy, sweet, and bursting with flavor. But how do you know when it’s time to harvest? Skip the guesswork with these foolproof methods to pick watermelons at peak ripeness.
Most gardeners miss the mark by relying on size alone, but the real clues lie in the skin texture and the sound when tapped. A ripe watermelon should feel heavy for its size and produce a deep, hollow thump.
In this guide, I’ll walk you through the field spot test, tendril color, vine drying, and other expert tricks to ensure you never pick one too soon or too late.

5 Field spot tests to determine watermelon ripeness
Harvesting a perfectly ripe watermelon isn’t just about guessing—it’s about observing subtle clues your plants provide. These field spot tests are my go-to methods for determining ripeness with near-perfect accuracy.
Whether you're a backyard gardener or a commercial grower, these techniques will save you from picking melons too early (or too late!). The key is combining multiple tests for the best results.
Watermelons don’t ripen further after harvest, so timing is everything. A single test might fool you, but using these five methods together ensures you’ll never miss peak ripeness again. I’ve tested these on everything from heirloom varieties to hybrid seedless watermelons, and they work every time.
Let’s dive into the science-backed ways to spot a ripe watermelon in the field.
- 1 Field Spot Test: Look for a creamy yellow or brown spot where the watermelon rests on the ground. This "field spot" indicates sugar development. A white or green spot means it’s not ready.
- 2 Thump Test: Tap the blossom end (opposite the stem) with your knuckles. A ripe watermelon produces a deep, hollow sound. If it sounds dull or flat, it’s not ready. Avoid thumping too hard—you don’t want to bruise the fruit!
- 3 Ground Spot: The skin at the ground spot should feel slightly rough and dull. Run your thumb over it—if it’s smooth or waxy, the melon needs more time. A ripe watermelon’s skin will resist slight pressure and feel firm.
- 4 Tendril Color: Check the tendril near the stem. It should turn brown and dry when the watermelon is ripe. If it’s still green or vibrant, the melon isn’t ready. This is one of the most reliable indicators!
- 5 Vine Drying: The vine connecting the watermelon to the plant should start drying out. It’ll turn brown and crispy. If the vine is still green and flexible, the melon needs more time. This is your final confirmation before harvest!
Pro tip: Combine these tests for the most accurate results. For example, if the field spot is creamy yellow but the tendril isn’t brown, wait a few more days.
I’ve found that heirloom varieties often take longer to show all these signs, so don’t rush them. Patience pays off with sweeter, more flavorful melons.
One common mistake I see is relying too heavily on size or weight. A watermelon can feel heavy but still be underripe. Always check the field spot and tendril color first—they’re the most reliable indicators.
I’ve harvested melons that looked perfect by size but tasted bland because they weren’t fully ripe.
For seedless watermelons, these tests work just as well, though they might ripen slightly faster. Pay extra attention to the ground spot and thump test since their texture can be trickier to judge.
I’ve also noticed that striped varieties often have more pronounced field spots, making them easier to identify as ripe.
If you’re harvesting for long-term storage, aim to pick watermelons when they’re just slightly underripe. They’ll continue to ripen indoors for a few days, improving their flavor and shelf life. Store them in a cool, dry place (around 50°F) to slow down the ripening process while keeping them fresh.
Remember, watermelons won’t ripen further after harvest, so timing is critical. Use these five tests together, and you’ll never miss a perfectly ripe watermelon again. Happy harvesting!
Why the field spot test works (and common mistakes to avoid)
The field spot test is one of my go-to methods for determining watermelon ripeness because it reveals what’s happening inside the fruit. When watermelons rest on the ground, they develop a cream-colored spot where they touch the soil.
This spot forms due to chlorophyll breakdown triggered by ethylene gas—nature’s way of signaling ripeness. The more pronounced and yellowish-brown this spot becomes, the sweeter and more flavorful the melon will be.
This test works because the blossom end (the flat side where the stem attaches) is where the watermelon absorbs nutrients and matures. As sugars concentrate, the skin at the ground contact point changes color, giving you a visual cue that the fruit is ready to harvest.
It’s like a built-in ripeness indicator from the plant itself!
⚠️ callout-warning
- Ignoring spot color: A greenish spot means the melon is underripe. Wait until it turns cream or tan.
- Overlooking vine health: If the main vine near the stem turns brown and dries, the melon is overripe.
- Checking too late: Once the spot turns white or moldy, the melon is past its prime.
- Skipping the thump test: Always tap the melon—a deep, hollow sound confirms ripeness.
The field spot test isn’t foolproof if you misinterpret the color. For example, a dull green spot means the melon needs more time, while a bright yellow spot with a mushy texture signals overripeness.
I’ve learned to pair this test with the thump test—a ripe watermelon produces a deep, hollow sound when tapped with your knuckles.
Another mistake I’ve seen gardeners make is picking melons too early just because they’re curious. Underripe watermelons have hard, pale flesh and lack sweetness. To avoid this, I wait until the spot turns creamy yellow and the stem dries and detaches easily.
This two-step check ensures I never miss the sweetest harvest.
Even experienced gardeners can fall for false ripeness cues, like a bright spot caused by sunlight rather than maturity. To test this, gently press your thumbnail into the rind.
If it doesn’t dent easily, the melon is still firm and ripe. If it leaves a mark, it’s overripe or damaged.
Pro tip: Harvest in the morning when temperatures are cooler. This preserves the melon’s sugar content and prevents it from overheating in the sun. Store it in a cool, dry place (50–55°F) to extend freshness for up to 2 weeks.
With these tricks, you’ll never guess again—just trust the field spot!