
Picking
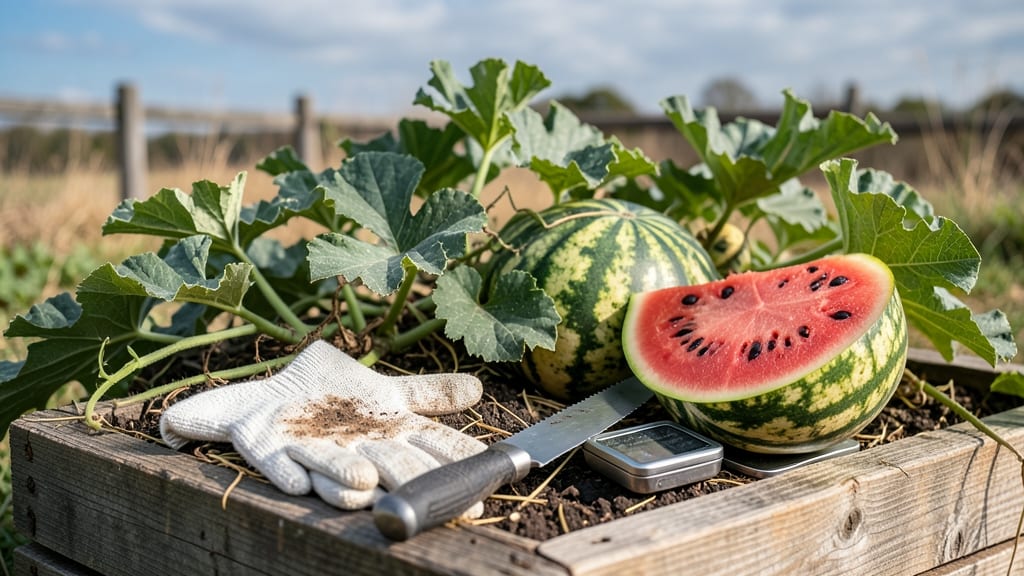
Watermelons are ready to pick when they show three key ripeness signs—creamy field spots, dried tendrils, and a satisfying thump—but timing matters more than you think.
Picking too early means bitter flesh and wasted effort, while waiting too long risks overripe, seedy disappointment. I’ve learned the hard way that even the most experienced gardeners can miss the window, especially with seedless varieties that don’t always follow the classic thumb test.
Here’s how to nail it every time: from the field-spot color shift to the telltale rattle when you shake the vine, plus when to trust your thumb—and when to ignore it entirely.
You’ll also discover how climate and variety affect ripening, so you can adjust your strategy for heirloom, hybrid, or store-bought melons alike.
The ultimate watermelon ripeness checklist: 3 field-proven signs beyond the thumb test
Every summer, I've learned the hard way that the classic watermelon thumb test doesn't always work—especially with seedless varieties or when melons ripen unevenly. That's why I rely on these three field-proven ripeness signs that never fail me, even when the thumb trick lets me down.
These indicators help me pick melons at their sweetest, whether I'm growing heirloom varieties or modern hybrids.
Over the years, I've noticed that many gardeners miss the subtle clues watermelons give before they're truly ready. The field spot (that creamy yellow patch where the melon rests on the ground) is often overlooked, yet it's one of the most reliable ripeness indicators.
Combine this with tendril color changes and rind texture shifts, and you'll have a foolproof system that works even for varieties where the thumb test fails.
I've also discovered why some melons seem ready by all accounts but still taste bland or underripe. It often comes down to environmental stress—like inconsistent watering or extreme heat—that can delay ripening. That's why I always check these three signs together before making my final call.
The Field Spot Test
Look for a creamy yellow patch where the melon touches the ground. This spot should be 1-2 inches wide and clearly defined against the rest of the rind.
Tendril Color Change
The small tendril nearest the stem should turn brown and crispy. The larger vine tendril may stay green—don't rely on it alone.
Rind Texture Shift
Press your fingertips into the rind. It should feel slightly soft (like a ripe avocado) but not mushy. A hard rind means underripe; a spongy one means overripe.
Let me walk you through how I use these signs in my own garden. For example, I once had a 'Moon and Stars' heirloom watermelon that showed all three signs but still tasted bland when I cut it open.
That's when I learned to combine these visual cues with the weight test—a ripe watermelon should feel heavy for its size because it's packed with juice.
The field spot test is particularly useful for seedless varieties like 'Sugar Baby' or 'Crimson Sweet', where the thumb test often gives false readings.
I've found that seedless melons develop their creamy field spots 2-3 days earlier than seeded varieties, so I watch for this color change more closely with these types.
I also pay special attention to the tendril color change because it's often the first visible sign of ripening. In my experience, this tendril turns brown 3-5 days before the melon reaches peak sweetness. That gives me a heads-up to start monitoring the other signs more frequently.
One common mistake I see gardeners make is relying on rind patterns alone. While striped or speckled patterns can indicate ripeness, they don't guarantee sweetness. That's why I always check all three signs together—they create a consistent ripeness profile that works across different watermelon varieties.
For container-grown watermelons (like 'Tiny Tim'), these signs work just as well, though the melons may ripen slightly faster due to their smaller size. I've found that container varieties develop their creamy field spots 1-2 days earlier than their vine-grown counterparts, so I adjust my harvesting timeline accordingly.
If you're growing watermelons in hot climates, be extra vigilant about checking these signs frequently. Heat can accelerate ripening, and melons might go from perfect to overripe in just 24-48 hours.
I've had to harvest melons before they showed all three signs when temperatures exceeded 95°F for extended periods.
Remember, these signs work best when combined with proper growing conditions. Consistent watering (especially during flowering) and adequate sunlight are crucial for reliable ripeness indicators. When all three signs appear together, you can be confident you're harvesting at peak sweetness—no thumb test required.
Watermelon thumb test demystified: how to use it correctly (and when to ignore it)
The watermelon thumb test is the classic trick we all learned—press your thumb against the fruit's blossom end. If it feels soft, the melon's ripe! But here's the catch: this method fails for seedless varieties and hybrid types with thick rinds.
Let's break down the correct technique and when to trust other ripeness signals instead.
First, choose the right spot on the melon. The blossom end (where the stem attaches) is your target. Avoid pressing near field spots or blemishes, as these can give a false soft reading.
Use your thumb only—no fingers! A gentle press should reveal the true ripeness beneath the rind.
Pro Tip: The thumb test works best when the melon is at room temperature. If it's been sitting in the hot sun, wait 30 minutes before testing—heat softens the rind prematurely. For seedless watermelons, this test is unreliable because their rinds stay firm even when ripe.
✅ When the Thumb Test Works
- Quick and easy
- Works for traditional varieties
- No tools required
- Fails on seedless types
- Unreliable if melon is hot
- Subjective "softness" judgment
❌ When to Ignore the Thumb Test
- Seedless watermelons
- Hybrid varieties
- Melons with thick rinds
- Check field spots (creamy yellow)
- Listen for hollow rattle
- Inspect tendril color (brown = ripe)
For seedless watermelons, skip the thumb test entirely. Instead, look for field spots turning from white to creamy yellow.
A ripe seedless melon will also sound hollow when tapped—like knocking on a drum! Heirloom varieties like 'Moon and Stars' respond better to the thumb test, but always cross-check with other signs.
If your watermelon vine is struggling in hot climates, ripeness can speed up. Watch for tendrils turning brown near the fruit—this is a reliable early warning. For container-grown melons, the thumb test is even trickier because rinds often stay firm due to limited vine growth.
In these cases, weight matters most—a ripe melon feels heavy for its size.
Remember: No single test is foolproof. Combine the thumb test (when applicable) with visual cues and sound checks for 100% accuracy. And if your melon is still green after 90 days? It's time to harvest anyway—some varieties just never fully ripen on the vine.